
Livery Stüdyosu: rehber ve eğitim
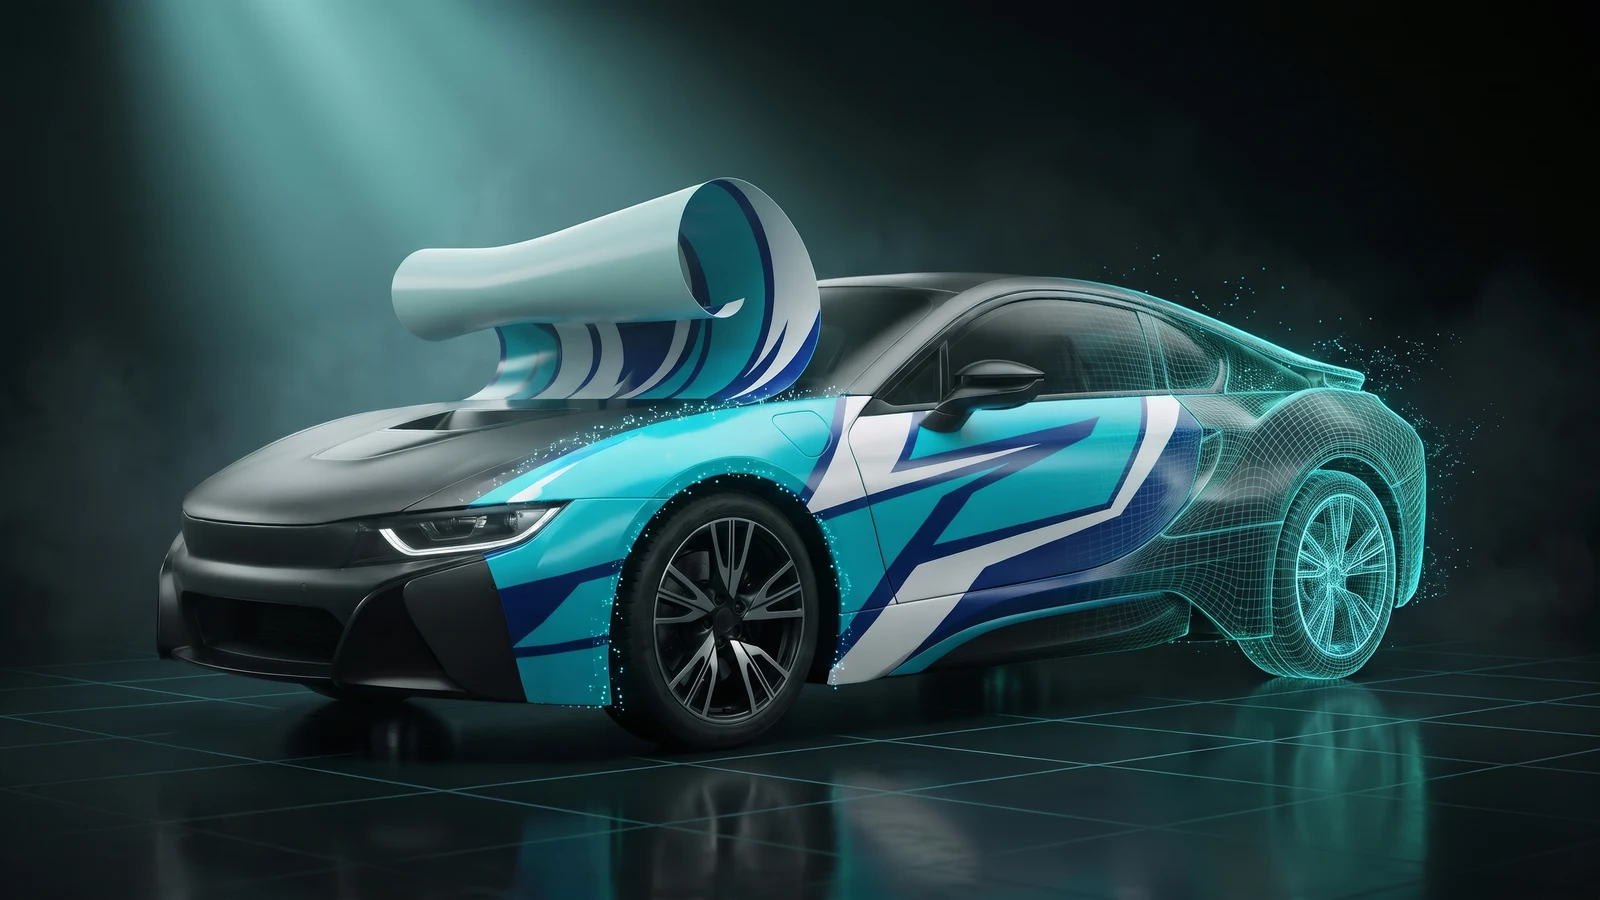
Livery'yi aracın üzerinde tasarla, kaynağı al.
Video eğitimi yakında geliyor
O zamana kadar aşağıdaki yazılı rehber seni her adımda yönlendirir.
Bu rehber şimdilik yalnızca İngilizce.
What it is
The Livery Creator lets you design a livery on a 3D car in your browser. You pick a vehicle from GTA V or upload your own, add text, images, shapes or a video, and place them on the body. Then you choose which livery your design replaces, or whether it is always on, or added as a new option. You get a resource — the folder you drop into resources/ — with the texture, the files the game needs and a command to spawn the car wearing it.
Who it's for
- Server owners who want police, EMS, taxi or gang liveries without Photoshop, OpenIV or CodeWalker.
- Owners who already have an add-on car and want a new livery on it.
- Anyone who wants several liveries for different cars in one single resource.
Before you start
- Sign in with Discord and stay in the THE ORB Discord. If you leave it, downloads stop until you rejoin.
- On the Free plan each download uses credits. See pricing.
- To upload your own vehicle you need a paid plan or the Pro Pass.
- Animated liveries (video or GIF) can only be exported from Chrome or Edge.
Pick a vehicle
The tool opens on the Vehicle tab. It lists every car, bike, plane and boat in GTA V with a photo.
- 1
Search or filter
Type a name or spawn name in the search box. The filters narrow the list: With liveries, All, emergency, cars, bikes, work vehicles, air and sea.
- 2
Read the tag
Each row has a tag on the right. A number like
3 liveriesmeans the car already has liveries you can replace.Livery-readymeans the game never gave it a livery and the Studio prepared its body to take one.No slotmeans there is nowhere to put a design yet. - 3
Click the vehicle
It opens in the 3D view in the middle. The tool jumps to the Design tab.
If you were working on a design earlier, a banner offers to pick it up where you left it. Press Pick it up to reopen it, or Discard to start clean.
Press How it works at any time for a five-step tour of the tool.
Use your own vehicle
You can design on an add-on car you already have. This is for paid plans and the Pro Pass. On the Free plan the lock screen may offer a one-time try paid with credits.
- 1
Open the upload
In the Vehicle tab press Use your own vehicle.
- 2
Choose the file
Upload the
.yft, a CodeWalker.yft.xml, or the resource.zipwith its.ytdinside. The limit is 80 MB per file. - 3
Wait for it to open
The model is read on our side and opens with the liveries it already has. It shows up in the list tagged
Uploaded by you.
The uploaded copy is kept for 24 hours so it can be used when you download. On a paid plan the car is also saved in your account, so a project can reopen it later.
If the zip is too big, upload only the vehicle's .yft and .ytd. That is all the tool needs.
Add text, images, shapes and colour
Your design is made of layers. Open Add to the design in the Design tab.
- 1
Text
Adds a line of text. You can change the font, colour, outline, outline colour, spacing and italics.
- 2
Image
Adds a PNG, JPG or WebP. For logos use a PNG with a transparent background. An image without transparency shows as a solid rectangle, and the tool warns you.
- 3
Video
Adds an MP4, WebM or GIF. The livery moves in game. See the animated liveries section below.
- 4
Shape
Adds a shape: rectangle, rounded, circle, stripe, chevron, triangle, star, ring or checkered.
- 5
Colour
Fills the whole livery area with one colour. Use it as a base under everything else.
Every new layer lands on the driver's door. You move it from there.
Two extra buttons sit under the add buttons:
- Import your livery (PNG, .ytd, .dds, .zip) — bring a livery you already have. If the file holds several textures, you see them all and click the ones to put on the car.
- Split an image into parts — for a livery made for another model. The tool finds the parts where the image is transparent, or you cut it with a grid or draw the parts by hand. Each part becomes its own layer, in its place, so you can move them one by one. This runs in your browser and costs nothing.
Place and edit each layer on the car
- 1
Move it
Drag a layer across the body, or click anywhere on the car to send the selected layer there.
- 2
Resize and rotate
Hold Ctrl and turn the mouse wheel to resize. Hold Shift and turn the wheel to rotate. Sizes are shown in centimetres.
- 3
Copy it to the other side
Turn on Both sides. A copy appears on the other side of the car, reading the right way.
- 4
Pick how it sits
Under Placement: Sticker projects it on one spot of the body. Whole car projects it from every side; Stretch puts one copy per side and Repeat tiles it, with a tile size you set. UV sheet places it on the flat texture instead of the car.
- 5
Fine-tune
In Selected layer you also have opacity, flip, flip vertical, duplicate (Ctrl+D) and delete (Del).
In the Layers list, the top of the list is on top of the car. Use the arrows to move a layer up or down, the eye to show or hide it, and the lock so you don't drag it by mistake. Shift + click picks several layers; drag one and they all move together.
The bar over the car has Undo (Ctrl+Z), Redo (Ctrl+Y) and camera buttons: Left, Front, Right, Rear and Top. Both shows the car and the flat texture side by side, and Wire draws the UV wireframe on top.
Some vehicles only paint a small patch out of the box, like the roof sign of a police car. The tool tells you, and offers Paint the whole car. That is the Full body mode described below.
Make the livery move
Add a video or GIF with the Video button. On the car it plays in a loop.
- The loop is up to 8 seconds. Anything longer is cut, and the tool tells you.
- An animated livery is recorded at up to 1024 px, whatever texture size you chose.
- Exporting needs Chrome or Edge. Other browsers let you design, but not download it.
- A video file over 12 MB is not kept inside the project. Your design is saved, but you load the video again next time.
In game, the video plays in a hidden browser and becomes the livery texture. It only plays while one of those vehicles is within 150 m, and pauses 15 seconds after the last one leaves.
Each animated livery costs your players some FPS while it is on screen. Keep one or two per server.
Set the car paint
The paint button next to the camera bar opens Car paint (preview and resource). The livery sits on top of the paint, so the colour under it changes how the design looks.
- 1
Pick a colour
This colour shows in the preview only, unless you turn on Paint the car this colour too later.
- 2
Pick a finish
Normal, Metallic, Pearlescent, Matte, Brushed metal or Chrome. The finish goes into the resource, as the same paint type mod shops use.
- 3
Pick a pearlescent colour
Optional. It also goes into the resource.
Choose which livery and how it goes in
Go to the Download tab. Open Which livery.
- 1
Choose the slot
Tap one of the car's liveries. That is the one your design replaces. Try it puts that original livery on the car so you can design on top of it.
- 2
Choose how it goes in
Open How it goes in and pick one of the options below.
| Option | What happens on your server |
|---|---|
| Replace this livery | That livery number shows your design. Garages and menus that pick it get yours. The other liveries stay as they were. |
| Always on | Every car of that model wears your design, whoever spawns it. |
| Add as a new livery | Keeps every original livery and adds yours as one more option in the mod shop. You can set the Name in the mod shop. Only for vehicles that use mod-kit liveries. |
| Built into the model | For vehicles with no livery in the game. The resource replaces the vehicle's model with your design inside, so every one on the server wears it. |
| Full body (expanded UV) | The whole body takes the design: sides, roof, front and rear. The resource replaces the vehicle's model. Paid plans only. |
With Always on, Built into the model or Full body, you can also turn on Paint the car this colour too. That forces the body colour you picked, so the design never sits on a random colour.
Built into the model and Full body replace the car's model. Only one resource can do that per vehicle. If another resource also replaces the same model, only one of them wins.
Texture size and resource name
Open Advanced in the Download tab.
- Texture size: 512, 1024 or 2048 px. Bigger looks sharper up close and weighs more: about 0.4, 1.4 and 5.5 MB.
- Resource name: the name of the folder and of the test command. Up to 40 characters. If you leave it empty, the tool makes one like
orb_livery_police3_ab12. Exporting the same design twice gives the same name, so it replaces the one you installed instead of adding a copy.
Projects and packs: several liveries in one resource
Your designs save themselves while you work. Open Projects to see them. On the Free plan they stay in this browser. On a paid plan they are also saved in your account.
- 1
Add a design to the pack
When a design is ready, press Add to the pack under the download button. It saves the design and adds it to the pack.
- 2
Add more
Open another vehicle and repeat. In Projects, the + on each card adds an older design too.
- 3
Download the pack
In the Download tab switch from This livery to Pack and press Download pack. Everything comes out as one resource.
A pack only holds texture liveries (Replace or Always on). Mod-kit liveries and the ones built into the model go out one at a time. If you add them, the pack leaves them out and tells you how many.
Publish, PNG and UV template
- Publish (the globe button): shares a picture of the car and the design in the public gallery, where others can remix it on the same vehicle. Texts, shapes, colours and positions are shared. Images you uploaded are not: whoever remixes it puts their own in the same place. Only designs on garage vehicles can be published.
- PNG: downloads the livery texture as a PNG image.
- UV template: downloads the vehicle's livery layout as a 2048 px PNG, if you want to paint it in another program.
To see what others made, open the gallery.
Send it straight to your server
If your server runs ORB Core, you can skip the zip. Under the download button press Connect your server the first time, then Send to server.
- 1
Install ORB Core once
Put the
orb_corefolder inresources/, addensure orb_coreandadd_ace resource.orb_core command allowtoserver.cfg, and restart the server once. - 2
Link your account
Press Connect your server. It shows a 6-letter code. In the game as an admin, or in the server console, type
/orblinkand the code. The code works once and expires in 10 minutes. - 3
Send
Press Send to server. The server downloads the livery into
resources/[orb]/[liveries]/, starts it and tells the admins online in chat. Liveries show up right away, with no restart.
If the server is off, the tool says so. Start it to receive packs, or press Download instead.
What you download
You get a .zip named after the resource. What is inside depends on how the livery goes in:
| How it goes in | Files in the zip |
|---|---|
| Replace this livery / Always on | fxmanifest.lua, client.lua, stream/<name>.ytd with only your design |
| Mod-kit vehicle, or Add as a new livery | fxmanifest.lua, client.lua, stream/<livery>.yft, data/carcols.meta, data/carvariations.meta |
| Built into the model / Full body | fxmanifest.lua, client.lua, stream/<model>.yft and, when the car has one, stream/<model>_hi.yft |
| Pack | fxmanifest.lua, client.lua and one stream/<name>.ytd per design |
Every zip also has the instructions in three languages: README.txt (English), LEEME.txt (Spanish) and LEIAME.txt (Portuguese). The texture is DXT5 with mipmaps, at the size you chose.
An animated livery adds html/index.html (the hidden player) and html/livery.webm (the video).
Install it on your server
- 1
Unzip it
Drop what comes out of the zip inside
resources/on your server. - 2
Add it to server.cfg
Add a line with
ensureand the folder name. - 3
Restart the server
For Replace or Always on,
refreshand thenensure <name>in the console also works. - 4
Try it in game
Type
/and the resource name. The vehicle appears in front of you wearing the livery. For a pack, add a number:/<name> 2spawns the second one.
ensure orb_livery_police3_ab12
In a mod shop or garage menu the design is under Livery, in the option you replaced, or with the name you gave a new one. The README also lists the line a script can use to set it.
For Replace and Always on, no Rockstar file is replaced: the script tells the game to draw your design where the original went, so other livery resources keep working. Mod-kit liveries rewrite the vehicle's carvariations, so two of those resources on the same vehicle overwrite each other. Keep one per vehicle.
Common problems
The download button stays grey and says the vehicle has no livery slot.
That vehicle has no livery in the game and was not prepared to take one. Pick a vehicle tagged with a number of liveries or Livery-ready in the garage.
It says there is nothing to export.
Every layer is hidden, or there are none. Add a layer or turn one back on with the eye in the Layers list.
My logo shows as a solid box on the car.
The image has no transparency. Save it as a PNG with a transparent background and use Change image on that layer.
The animated livery won't download.
Your browser can't encode video. Open the tool in Chrome or Edge and export from there. Your project is saved, so it opens with everything.
It says I left the Discord.
Downloads need you to be in the THE ORB Discord. Rejoin it and press download again.
My livery does not show after installing.
Check that the folder is in resources/, that ensure uses the exact folder name, and restart the server. If another resource changes the same vehicle's liveries or model, remove one of them: only one wins.
My own car won't upload.
The file may be too big (80 MB is the limit) or not a vehicle model. Upload just the .yft and its .ytd, or export it again from CodeWalker.
Questions
How much does it cost?
Designing is free. On the Free plan each download uses credits; on any paid plan downloads are unlimited. Full body liveries and uploading your own vehicle are for paid plans. See pricing.
Does it work on ESX, QBCore and Qbox?
Yes. A livery is a resource, not a framework feature. Garages and mod shops that let players pick a livery show the new one.
Does it replace Rockstar files?
For Replace and Always on, no: only your design ships and a script points the game at it. Built into the model and Full body ship the vehicle's model with your design inside, which replaces that model on your server.
Can I edit a livery after downloading it?
Yes. Open Projects, pick the design, change it and download again. Keep the same resource name and the new download replaces the old one on your server.
Can I put several liveries in one resource?
Yes, with the pack, as long as they are texture liveries (Replace or Always on). Mod-kit and built-in liveries go out as separate resources.
Should I use this or the Vehicle Creator?
Use this tool when you only want a livery on a car. The Vehicle Creator also has a livery step, and builds a whole new car with parts, wheels and handling under its own spawn name.
Checked against the tool on November 15, 2026.
Livery Stüdyosu aracını şimdi dene
GTA V'ten istediğin aracı seç ya da kendininkini bırak, livery'yi aracın üzerinde tasarla, ve onu sunucuna koyan bir kaynak al.
Prop'lar ve modeller için diğer rehberler
- 3B Model → FiveM3B model girer, FiveM prop'u çıkar: dokular ve çarpışma dâhil.
- Prop YapıcıBir prop anlat ya da bir fotoğraf bırak, yapılsın.
- Silah YapıcıModelin girer, add-on silah çıkar.
- Prop LibraryFiveM prop'una dönüşmeye hazır 3D nesneler.
- Vinewood Sign CreatorŞehrinin adı Vinewood tepesinde.
- Billboard CreatorReklamların panolarda, duvarlarda ve vitrinlerde.
- VFX CreatorSunucun için sana özel parçacık efektleri.
- Vehicle CreatorBenzersiz bir araba yap, /car ile spawn et.
- Asset OptimizerAynı resource, daha hafif: yüklenen dokular.


