
Mini Map Creator: rehber ve eğitim
Şehrinin haritasına ve mini haritasına yeni bir görünüm ver.
Video eğitimi yakında geliyor
O zamana kadar aşağıdaki yazılı rehber seni her adımda yönlendirir.
Bu rehber şimdilik yalnızca İngilizce.
What it is
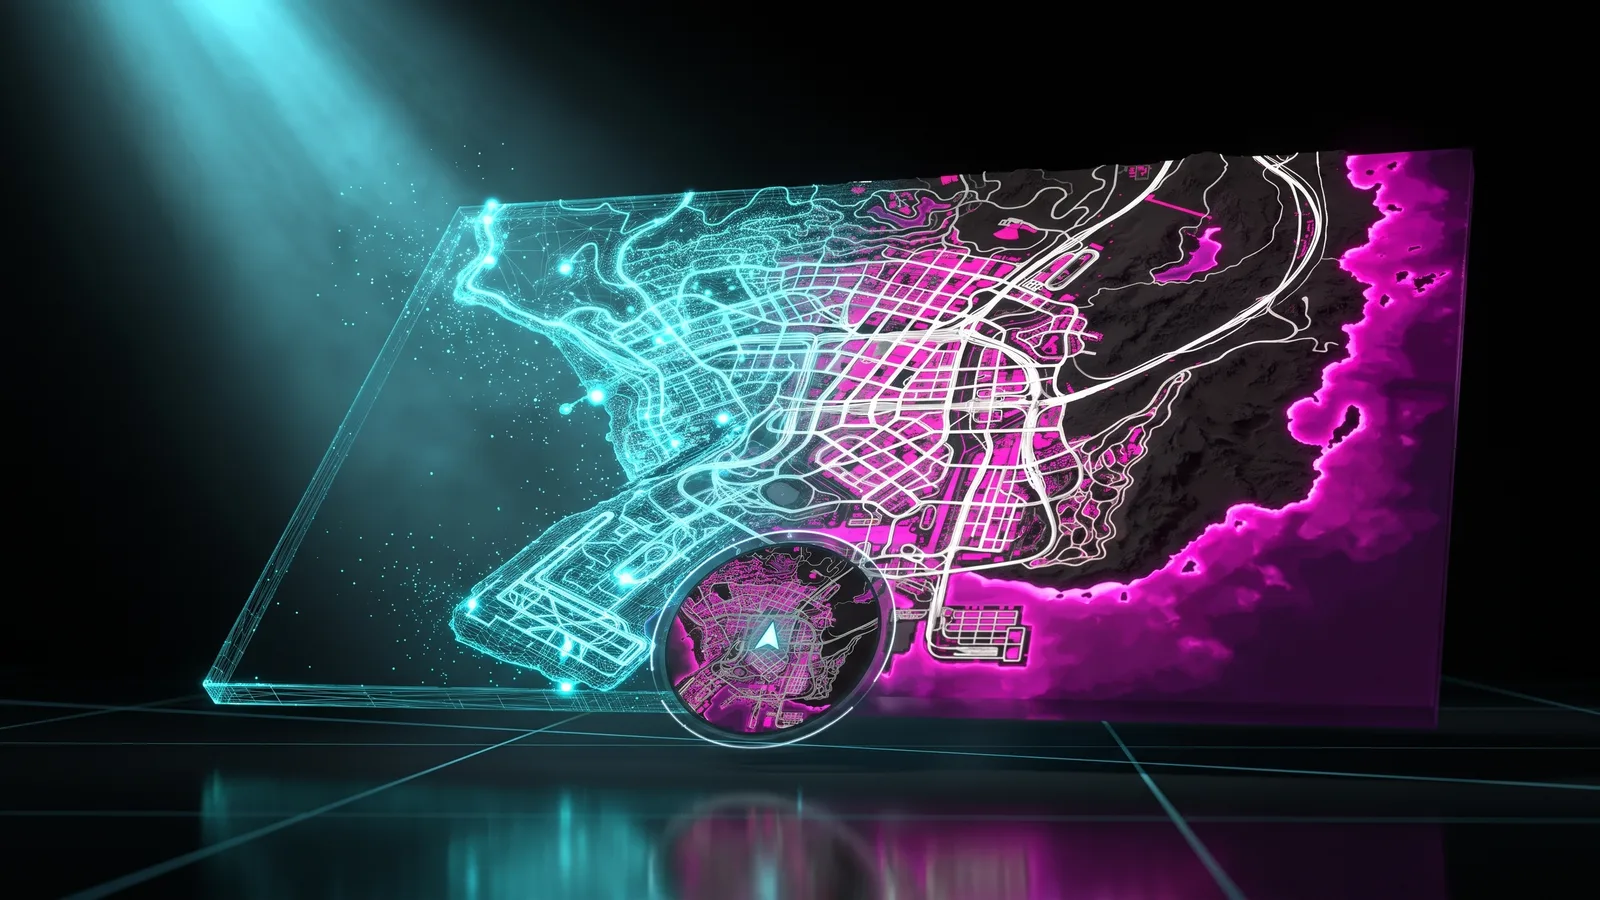
The Mini Map Creator repaints the whole map of your server in the browser. You choose the sea, coast, land and road colours, rename districts, add postal codes, labels and your logo, and style the minimap in the corner of the screen with a shape, frame, compass and street info. When you are done you download one resource that replaces the game's map for every player. The map stays sharp up close because it starts from the game's own radar drawing, not from a picture.
Who it's for
- Server owners who want a map that matches their server's colours and brand.
- Roleplay servers that use postal codes and want them printed on the map.
- Servers that already have a custom minimap and want to add names, codes or a logo on top of it.
Before you start
- A THE ORB account. You need to sign in to open the game map in the tool.
- To download, your account must be in THE ORB Discord.
- Optional: your logo (PNG with a transparent background works best), your
postals.json, or the minimap resource you use today.
Pick a style and paint the sea
Open the Style section on the left. The whole map is in the viewer: scroll to zoom and drag to move. Fit shows it all again.
- 1
Start from a style
In Styles, click one of the nine: Neon, Original, Capital, Coast, Fire, Atlas, Blueprint, Realistic or Jungle. Each one sets every colour at once. You can change any of them after.
- 2
Choose how the sea looks
In Water and coast, pick Color to paint it, or Transparent to leave it empty like the game's own map.
- 3
Pick the sea colours
With Color, choose Open sea, Shore and Glow. The bar below shows the shades from deep water to the coast.
- 4
Make the coast glow
Coast glow sets how strong the glow along the coast is, and How far it reaches how far it spreads into the sea.
- 5
Add a coastline
Coastline draws a line along the coast, from 0 (off) to 40 m wide, in the colour you pick next to it.
Land, blocks and roads
- 1
Open Land and roads
It is in the Style section, under the water.
- 2
Set each colour
Pick colours for Land, Blocks, Streets, Highways, Back roads and Bridges and other.
- 3
Thicker roads
Road thickness makes every road wider, up to 30 m more than normal, so they read better on the minimap.
- 4
Show the ground
Turn on Show what's on the ground to paint each area by what the game has there: grass and trees, sand, rock, dirt, city and snow. Each one has its own colour, and Strength sets how much it shows.
- 5
Check the real resolution
Click In game over the viewer to see the map as sharp as the game shows it. The download quality changes this.
Start from the minimap you already use
If your server already has a custom minimap, you can bring it in and add names, codes and logos on top.
- 1
Open Your minimap
It is the first row of the Style section.
- 2
Click Import your minimap
Choose the resource's
.zip, or itsminimap_X_Y.ytdfiles. Its 6 map pieces become the base. - 3
Check what came in
The row shows the name and how many of the 6 pieces were read. Missing pieces use the background colour.
- 4
Go back to the game map
Remove it and use the game map drops the import.
The close-up minimap is not imported. Up close it uses the colours you pick in Water and coast and Land and roads.
District names and postal codes
Open the Labels section.
- 1
Show district names
In District names, click Show. Pick a colour, turn Capitals on or off, and set Size for all and Rotation for all.
- 2
Rename or hide districts
Click Rename or hide districts. Type a new name in any box, or click the eye to hide that name.
- 3
Adjust one name
Click a name on the map, or the adjust button next to it in the list. You can give it its own size and rotation, and drag it on the map to move it. Back to how the rest are undoes it.
- 4
Pick the font
Choose Modern, Bold, Rounded, Typewriter or Classic, or click Upload your font (TTF, OTF, WOFF or WOFF2, up to 4 MB). Players see it without installing anything, because the names are drawn into the map.
- 5
Show postal codes
In Postal codes, click Show. Make them for me numbers the streets from the south up, and Space between codes sets how far apart they are (120 to 700 m).
- 6
Or use your own codes
Click Use my postals.json and choose your server's file. The codes appear where your postal script puts them. Minimum spacing hides or nudges codes that are too close, only on the map you see.
- 7
Style the codes
Set the colour, the outline, the font, Size for all and Rotation for all. To change one code, type it in the search box and click Adjust.
The download includes a postals.json with the same codes and spots, so /postal and the map agree. Point your postal script to that file.
Your own labels and logos on the map
- 1
Add a label
In Labels, click Add a label. Click it on the map to edit it and drag it to move it.
- 2
Style the label
Type the text (up to 40 characters), then set Size, Rotation, Colour, Outline and Glow, and pick a font. No outline removes the outline.
- 3
Add a logo or image
In Logos and images, click Upload an image (PNG, JPG, WEBP or GIF, up to 12 MB). Drag it on the map to place it.
- 4
Size and see-through
Click the image to set Size, Rotation and Opacity. The bin removes it.
Images on the map are not kept when you close the page. Upload them again before you download. A GIF stays still on the map; to make it move, use the logo in the Minimap section.
Pause menu, close-up minimap and Cayo Perico
Open the Game section.
- 1
Minimap up close
Sharp draws streets and blocks in your colours, crisp at any zoom, but labels and logos only show on the big map. Same as the map shows your full map picture in the minimap, labels and logos included, a little softer very close up.
- 2
Pause menu colours
Pick the Pause menu colour and the GPS route colour. Use the game's under each one brings back the original.
- 3
Your name in the menu
Type your server name (optional, up to 40 characters) to show it in the pause menu.
- 4
Cayo Perico
Same colours paints the island's minimap to match. Leave it as it is keeps the original. Your server still needs a resource that loads Cayo Perico.
The minimap on screen: shape, frame, compass and logo
Open the Minimap section. Click Screen over the viewer to see the minimap on a game screen. Drag it to move it, and drag the dot in its corner to resize it.
- 1
Start from a template
In Template, click one of the 14 (Clean, Ring, Neon, Navigator, Tactical, Hex, Octa, Diamond, Minimal, Racing, Luxury, Military, Patrol, Retro). You can change anything after.
- 2
Shape and place
Choose Round, Square, Rounded, Hexagon, Octagon, Diamond or Rectangle, a corner in Move it to, and a Size. Keep mine leaves the shape and position alone, for servers whose HUD already sets the minimap.
- 3
Border and panel
Pick a border (Line, Double, Glow, Neon, Corners, Dashed or None) and its thickness. Turn on a panel behind the minimap and set its width.
- 4
Compass
Choose Ring with N E S W, Ticks, North marker or Tape on top. It turns with the camera.
- 5
Logo or GIF
Upload a PNG, JPG, WEBP or GIF (up to 2 MB). It sits above the minimap, and a GIF keeps moving in game. You need a shape other than Keep mine to add it.
Street info, colours and radar
Open the HUD section.
- 1
Info
Turn on what to show: Street, Area, Heading, Time and Postal code. Choose where it goes (Right, Below or Above) and how it looks (Bar, Card or Just text). Postal code needs postal codes turned on in Labels.
- 2
Box sizes
Set width, height, inner padding, corner roundness, text sizes and panel opacity. Click any piece on the Screen tab to move it.
- 3
Colours and font
Pick the Accent, Panel and Text colours and a font. Upload your font takes a TTF, OTF or WOFF up to 1.5 MB, and it goes inside the resource so players see it.
- 4
Radar
Zoom sets how far the radar sees. Flat (no 3D tilt) stops it tilting in vehicles. Hide health bars removes the bars under the minimap.
Projects, quality, sharing and sending to your server
Open the Export section.
- 1
Projects
Your map is saved on its own while you work. My projects lets you open another map or start a new one. Paid plans also keep projects in your account.
- 2
Quality
Choose 4K or 8K. 8K is sharper when players zoom into the pause map.
- 3
Resource name
Type the folder name (up to 32 characters, lowercase letters, numbers and underscores).
- 4
Share in the gallery
Opens the Photo Studio, which records a flight over your map and takes photos. Other people can see your map's style in the gallery.
- 5
Send to your server
If you linked your server with ORB Core (Connect your server under the download button), click Send to with your server's name. It is installed and started without FTP.
Start over puts every option back to the default.
What you download
Click Download the map at the bottom of the panel. The Studio paints the 6 map pieces one by one, colours the minimap and Cayo Perico, and packs the resource. You get <name>.zip. Only one map can be built at a time per account.
| Inside the folder | What it is for |
|---|---|
stream/minimap_*.ytd and minimap_sea_*.ytd | The 6 pieces of the big map, painted with your style. |
stream/minimap_*.ydd | The minimap up close, recoloured. |
stream/ (other files) | Cayo Perico in your colours, and the mask that gives the minimap its shape, when you chose them. |
client.lua | What cannot live in a file: minimap shape, size and place, pause menu colours, your name in the menu and the nearest postal code. |
html/ | Only when you styled the minimap: the frame, compass, street info and your logo or GIF. |
postals.json | Only with postal codes: the same codes and spots as the map, for your postal script. |
fxmanifest.lua | The file FiveM reads to load the resource. |
README.txt, LEEME.txt, LEIAME.txt | Install steps in English, Spanish and Portuguese. |
The download does not use credits, but you must be signed in and be a member of THE ORB Discord.
Install it on your server
- 1
Copy the folder
Unzip it and drop what comes out inside
resources/on your server. - 2
Add it to server.cfg
Add
ensurewith the folder name. - 3
Turn off other maps
If you run another map or minimap resource (one that loads
minimap_*.ytdorminimap_*.yddfiles), stop it. Only one custom map can be active. - 4
Restart the server
Players see the new map the next time they join.
ensure my_city_map
If you use postal codes, point your postal script to the postals.json that came in the download.
Common problems
The map does not load in the tool
Sign in first. The game map only opens for signed-in accounts. If you are signed in and it still fails, reload the page.
The download says I need to be in the Discord
Join THE ORB Discord with the same Discord account you use to sign in, then click download again.
It says a map is already being built
Each account builds one map at a time. Wait for the first one to finish.
In game the old map still shows, or pieces of two maps mix
Another resource is also replacing the map. Stop it, keep only this one and restart the server. Players have to rejoin to see the change.
My logo is gone after I reopened the page
Images on the map are not kept when you close the page. Upload the logo again before you download.
My postals.json was not accepted
The file must be a list where each code has a code, an x and a y. Export it again from your postal script and try once more.
Questions
Does it cost credits?
No. Downloading the map does not use credits. You need to be signed in and in THE ORB Discord.
Will the map look blurry up close?
No with Sharp: the close-up minimap is the game's own drawing in your colours. With Same as the map it shows your picture, labels included, and very close up it is a little softer.
Can I keep my current minimap and add things to it?
Yes. Use Import your minimap in Style and add district names, postal codes, labels and logos on top.
Can players see my custom font without installing it?
Yes. District names and postal codes are drawn into the map, and the HUD font goes inside the resource.
Does my HUD resource conflict with the minimap shape?
If your HUD already places the minimap, choose Keep mine in Shape and place. The tool then leaves the shape and position alone.
Checked against the tool on November 15, 2026.
Mini Map Creator aracını şimdi dene
Kendi haritan ve mini haritan: parlayan kıyı şeridi, senin renklerin, yeni adlı semtler ve üstünde senin logon.

