
Animation Creator: poradnik i samouczek
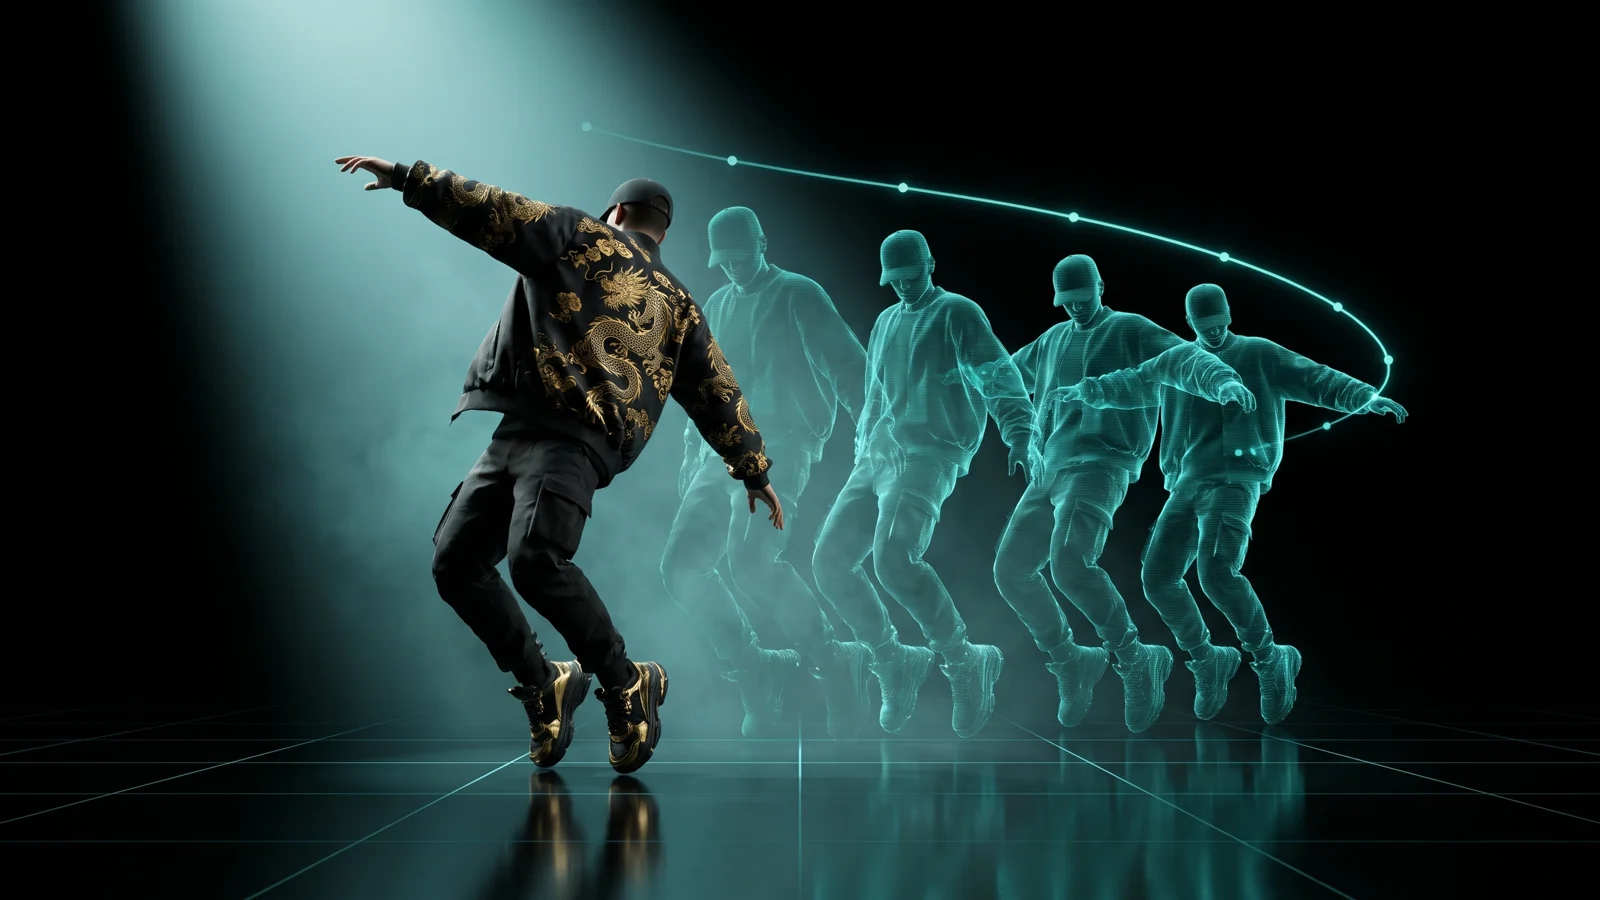
Dowolna animacja lub wideo na pedzie GTA, jako emotki.
Poradnik wideo pojawi się wkrótce
Do tego czasu poradnik poniżej przeprowadzi cię przez każdy krok.
Na razie ten poradnik jest tylko po angielsku.
What it is
The Animation Creator turns an animation into emotes your players can use. You bring a file from any 3D or motion capture program (FBX, BVH or GLB), upload a video, or record yourself with your webcam. The skeleton is recognised and moved onto the GTA ped in your browser. You trim it, set the speed, choose how it plays, add an object to the hand, and download a resource (the folder you drop into resources/) with one chat command per emote, a key to cancel, and ready-made config for the most used emote menus.
Who it's for
- Server owners who found an animation online (for example a free one from Mixamo) and want it as an emote without Blender, Sollumz or CodeWalker.
- Animators who work in Blender, Cascadeur, iClone or a motion capture suit and need the result as a GTA animation.
- Anyone who wants a custom dance or gesture: record yourself doing it and get the emote.
Before you start
- Sign in with Discord and be a member of THE ORB Discord server. Downloading needs both.
- On the Free plan, each emote in a download uses 5 credits. On any paid plan, downloads are free. See pricing.
- For a video: one person, the whole body in view, a still camera and good light. An up-to-date Chrome or Edge.
Open an animation, a video or record yourself
The tool is split in sections on the left rail: Animation, Settings, Emote, Pack, and Projects at the bottom. Everything starts in Animation.
- 1
From a file
Press Choose file, or drag the file anywhere on the page. FBX, BVH, GLB and GLTF are accepted. If the file has several takes (several animations inside), pick one in the Takes row.
- 2
From a video
Press Upload video and pick an MP4 or WebM. The tool watches the video frame by frame and builds the animation, fingers included when the hands are visible. It all runs on your computer: the video is not uploaded anywhere. Only the first 60 seconds are used.
- 3
Recording yourself
Press Record me and allow the camera. Step back until the badge turns green and says Full body: the cyan skeleton is what will be captured. Press Record; after the countdown you have up to 20 seconds. Press Done to finish.
When the animation is open, the Skeleton row says how many bones were moved onto the ped. If it says Some body parts weren't found, the file needs a human skeleton with hips, spine, head, arms, hands, legs and feet.
For a video, the Video row shows in how many frames the person was seen and how visible each hand was. If the legs were barely visible, only the upper body is animated. Smoothing removes jitter; less smoothing keeps fast moves sharper.
Watch it on the GTA ped and trim it
The centre of the screen shows the animation on the real GTA ped, with a timeline underneath.
- Choose the body: Male, Female or Mannequin. The mannequin makes the pose easier to read.
- Turn the camera with Front, Side, 3/4 and Back.
- Original shows the file's own skeleton next to the ped, to compare. Video shows the video in the corner, in sync with the ped.
- Drag the two handles on the timeline to trim the start and the end. Clicking the track jumps to that moment.
- Shortcuts: Space plays or pauses, the left and right arrows move one frame, I sets the start of the trim and O the end.
Tune the motion
In Settings:
- 1
Movement
In place keeps the ped on the spot: if the animation walks forward, it walks without moving. Keep arms out of the body opens the arms just enough when a hand goes through the torso, which happens when the original body is slimmer than the GTA ped.
- 2
Speed and blend
Speed goes from 0.25× to 2×. Blend (only for animations that loop) smooths the jump from the last frame back to the first, up to 1 second.
- 3
Hands
From file keeps the fingers as they are in the file. Relaxed uses fingers from a GTA animation, useful when the file's fingers look stiff. If the file has no fingers, the GTA ones are used.
Touch up a pose by hand
If one moment looks wrong (an arm too low, a hand at an odd angle), you can fix it without another program.
- 1
Turn on retouching
In Settings, open Hand touch-ups and turn on Touch up the pose.
- 2
Pause at the moment
Pause the animation where you want the fix.
- 3
Pick a body part
Click a point on the body, or choose it in the list: head, neck, chest, spine, hips, shoulder, upper arm, forearm, hand, thigh, leg or foot.
- 4
Turn it
Turn that part with the rings. The fix is saved at that moment and blends with what comes before and after. Smoothness sets how long that blend lasts.
Each fix is listed and can be removed. Remove this touch-up undoes the one you are editing.
Build the emote: command, playback and objects
- 1
Command
Type the chat command players will use, for example
wavefor/wave. It becomes lowercase, letters, numbers and underscores only, up to 32 characters. - 2
Menu label
The name shown in emote menus, up to 40 characters.
- 3
How it plays
Loop repeats it until cancelled. Once plays it one time. Hold plays it and stays in the last pose. Allow walking animates only the upper body so the player can move at the same time.
- 4
Objects in hand
Press Add an object or weapon, search (beer, phone, pistol) or browse the categories: drinks, food, smoking, phones and cameras, accessories, party and music, sports, work and weapons. Choose where it goes: right hand, left hand, head or chest. Place it with Move and Rotate by dragging the arrows or rings on the ped, or type the numbers. Back to the starting position resets it. Up to 2 objects per emote.
The object numbers are the same ones written into the emote menu config, so the object sits in the same place in every menu.
Collect several emotes in one pack
A pack is a list of emotes that download together as one resource. They can come from one file or from several.
- 1
Add the current emote
Press Add to pack under the panel. If you are editing an emote that is already in the pack, the button says Update in pack.
- 2
Open the next animation
Open another file, video or recording and build its emote. Add it too.
- 3
Review the list
In the Pack section you see every emote with its label and how it plays. Remove from pack takes one out. Two emotes cannot share the same command.
- 4
Name the resource
In Resource, type the folder name. By default it is
orb_emotes.
Download or send it to your server
- 1
Choose what to download
In the Pack section, choose This one for the emote you are editing, or Pack for the whole list.
- 2
Download
Press Download this emote or Download the pack. The button shows the credits it will use on the Free plan (5 per emote). Your browser builds the animations, our server packs them into the game format, and the zip downloads.
- 3
Or send it
If your server runs ORB Core (a small resource that receives packs from the Studio), Send to server installs it and starts it with no restart. Connect your server sets it up once. If the pack is already on that server, the button says Update and sending replaces the whole pack, so keep every emote in it.
If the build fails, the credits are returned.
Projects and the gallery
Your work saves itself in Projects two seconds after you stop changing something. Projects live on this computer, in this browser, not in your account. Each one keeps the source file (or what was read from the video), the trim, the settings, the objects, the touch-ups and the emote. A video is kept only if it is 25 MB or less, just for the corner preview.
When you come back, the tool offers to Resume what you were working on, or Start fresh. In Projects you can open any of them or remove it.
Share in the gallery opens the Photo Studio, which records the animation on the ped. Other people can see it; they cannot download your emote.
What you download
The zip has one resource folder, named as you set it in Resource:
| File | What it is |
|---|---|
stream/<resource>@anim.ycd | All the emotes' animations, in GTA's animation format |
client.lua | One chat command per emote, the cancel key, objects in hand, and the link to scully_emotemenu |
fxmanifest.lua | Tells FiveM what the resource contains |
config/rpemotes.lua | Lines to paste into rpemotes-reborn |
config/dpemotes.lua | Lines to paste into dpemotes |
README.txt, LEEME.txt, LEIAME.txt | Instructions in English, Spanish and Portuguese |
Install it on your server
- 1
Copy the folder
Unzip it. Drop what comes out inside
resources/on your server. - 2
Start it
Add
ensure <resource>to server.cfg and restart, or typeensure <resource>in the server console. - 3
Use it in the game
Type the command of each emote in chat, for example
/wave. X cancels the emote; each player can change that key in Settings > Key Bindings > FiveM.
ensure <resource>
With an emote menu:
- scully_emotemenu: the emotes add themselves to its menu. Nothing to do.
- rpemotes-reborn: paste the lines from
config/rpemotes.luaat the end ofclient/AnimationListCustom.lua. - dpemotes: paste the lines from
config/dpemotes.luaat the end ofclient/AnimationList.lua.
Keep your emote resource running on the server even when you use a menu: the animation itself comes from it.
From another script: exports['<resource>']:reproducir('command') plays an emote and exports['<resource>']:parar() stops it.
Common problems
"Some body parts weren't found"
The file's skeleton is not a human one, or its bones have unusual names. Export it again with a standard humanoid skeleton (from Mixamo, for example). If it has those parts under other names, tell us on Discord which ones.
"The file has a skeleton but no animation" or "The file has no skeleton"
The file holds a model without motion, or motion without a skeleton. Export again including both the skeleton and the animation.
"We couldn't find anyone in the video"
A person needs to be visible from head to toe. Use a still camera, good light and only one person in view. Record from farther away if your feet are cut off.
"We couldn't start the detector in this browser"
Open the tool in an up-to-date Chrome or Edge and try again.
An arm goes through the body in the game
In Settings, turn on Keep arms out of the body. If it still happens at one moment, use Touch up the pose to move that arm.
"That's too much for one resource" or "Too many downloads in a row"
For the first, split the emotes into two packs and download each one. For the second, wait a few minutes and download again.
Questions
Which programs can I use?
Any that exports FBX, BVH or GLB with a humanoid skeleton: Mixamo, Rokoko, Blender, Cascadeur, iClone or a motion capture suit.
Does the video leave my computer?
No. The video is analysed in your browser. Only the finished animation is sent to our server when you download, to pack it into the game format.
How much does it cost?
On the Free plan, 5 credits per emote in the download. On any paid plan, downloads are free. If the build fails, the credits come back. See pricing.
Can players walk while the emote plays?
Yes, if you turn on Allow walking. Only the upper body is animated, so the legs walk normally.
Can I use these emotes on a custom ped?
They are built for the GTA human skeleton, so they work on the freemode ped and on peds made with the Ped Creator, which use that same skeleton.
Where are my projects saved?
In this browser on this computer. Clearing the browser's data or switching computers loses them. The downloaded resource is yours to keep.
Checked against the tool on November 15, 2026.
Wypróbuj Animation Creator teraz
Wrzuć animację z dowolnego programu albo nagraj siebie i odbierz emotki, które odtworzy twój serwer.
Więcej poradników: Postacie
- Studio TatuażuDowolny obraz zamieniony w paczkę tatuaży, którą wczyta twój sklep.
- Jewelry CreatorWłasne łańcuchy, pierścionki i bransolety, generowane w przeglądarce.
- Vest CreatorKamizelka z gry albo twoja, projektowana na ciele.
- Clothing CreatorZaprojektuj ubranie na ciele, pobierz resource.
- Kreator PedówUbierz peda FiveM albo stwórz nowego z AI.
- Animal CreatorStwórz zwierzę do FiveM z AI.


