
Icon Generator: guide and tutorial
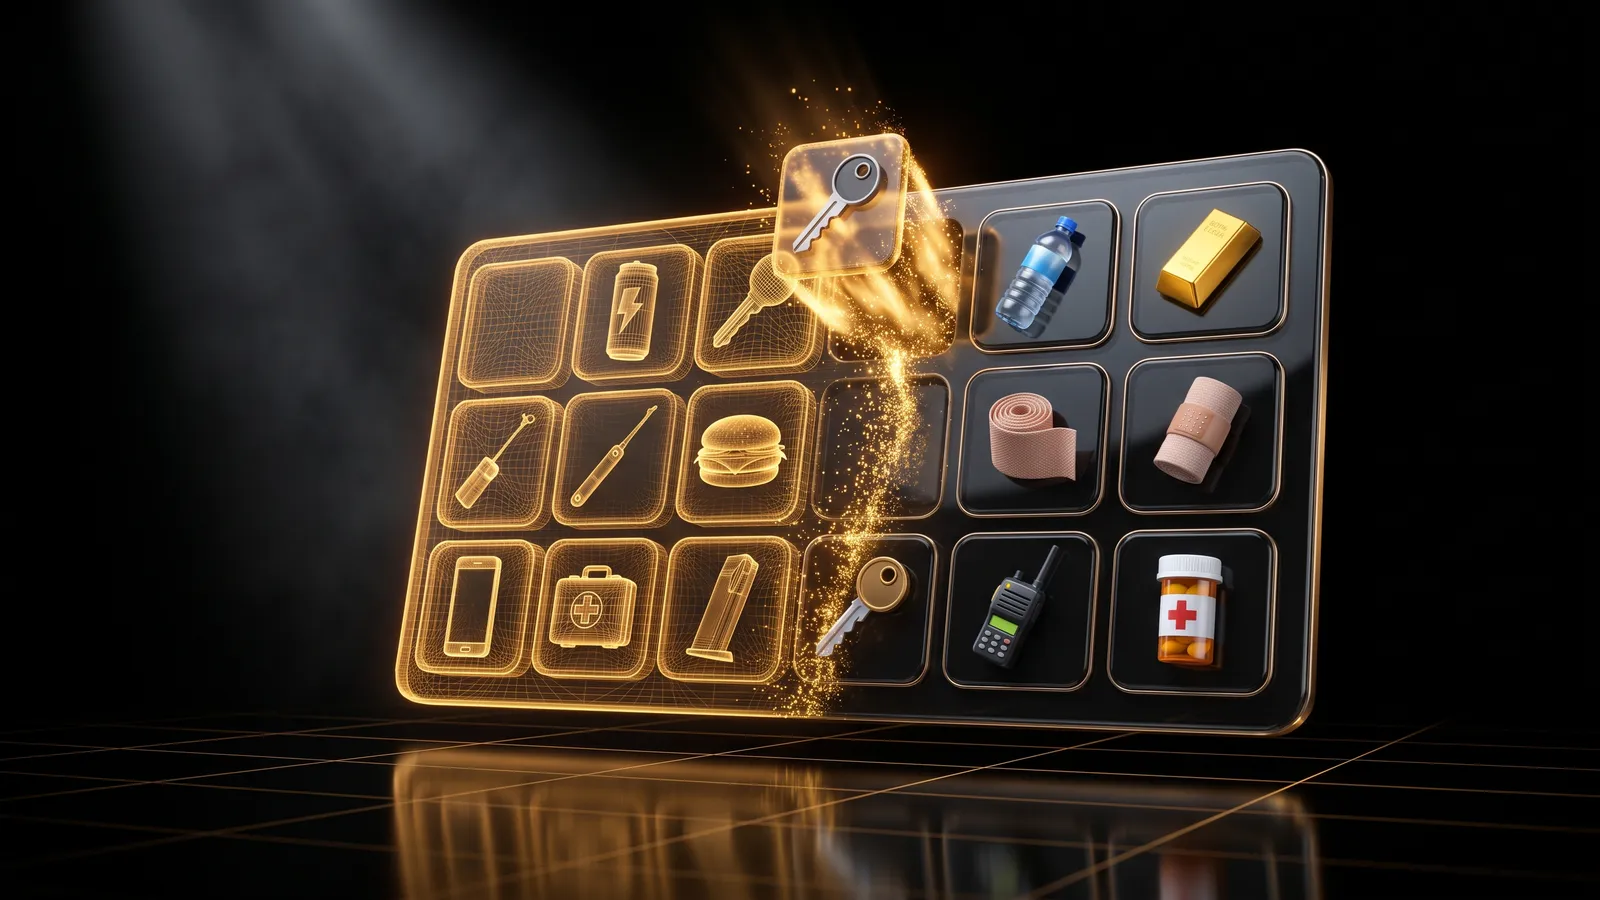
AI inventory icons, one or a whole pack.
Video tutorial coming soon
Until then, the written guide below takes you through every step.
What it is
The Icon Generator makes inventory icons for your server. You describe an item, or drop a photo of it, pick a look, and get a PNG with a transparent background, already named after the item and sized for ox_inventory and qb-inventory (100x100). You can make one icon or a whole pack in the same style, and download the pack as a zip with the item entries ready to paste. It also includes a free library of 951 ready icons.
Who it's for
- Owners adding new items (food, drugs, tools, job items) who have no icon for them.
- Servers whose inventory mixes icons from ten different sources and want a set that looks like one family.
- Anyone who needs a quick icon for a common item: check the free library first.
Before you start
- An account on THE ORB Studio with credits. Each icon costs credits, see the Generate button or pricing.
- The item names you use in your inventory (for example
burger,lockpick), so the files match. - Optional: a photo or drawing of the object, if you want the icon to keep its shape and colors.
Start with the free library
When you open the tool, the main area shows the Library: 951 ready icons, 100x100 with a transparent background, each named after its item. Downloading them costs nothing.
- 1
Search
Type an item name in the search box, for example water, lockpick or burger. Names that start with what you typed come first.
- 2
Download one
Click an icon and its PNG downloads, named like the item.
- 3
Download a page
Click This page to get the icons on screen (up to 60) in a zip.
- 4
Download all
Click Whole pack (951) to get every icon in one zip.
If the item you need is not there, generate it as shown below.
Make one icon
- 1
Choose One icon
In the Create section on the right, make sure One icon is selected at the top.
- 2
Describe the object
Under What object?, write what it is, for example a green energy drink can. Be specific about color and material. Up to 240 characters.
- 3
Add a picture (optional)
Under Start from an image, click or drop a photo or drawing of the object (up to 8 MB). The icon keeps its shape and colors. Click the X to remove it.
- 4
Set the file name
Under File, type the item name exactly as it is in your inventory. If you leave it empty, a name is made from your description. It becomes
<name>.png. - 5
Generate
Click Generate icon at the bottom. The button shows the credit cost before you click.
Each icon takes 30 to 90 seconds. You can keep using the page while it works. If one fails, its credits are refunded and the card says so.
Make a whole pack
- 1
Choose Pack
In the Create section, click Pack at the top.
- 2
Write the list
Under The items, write one item per line as
name: description, for exampleburger: cheeseburger. If you only write the description, the name is made for you. - 3
Or start from an example
Click Food, Medical, Tools or Illegal to fill the list with a sample, then edit it.
- 4
Keep it consistent
Leave Consistent style on. The first icon is made alone, and the rest use it as a style reference, so the pack looks like one family.
- 5
Generate
Click Generate N icons. You can send up to 40 items per batch.
bandage: roll of bandage
medkit: first aid kit
painkillers: bottle of pills
The starting image only works in One icon mode. In a pack, every item is generated from its description.
Choose how it looks
Click Style in the left rail. Hover a style to see an example apple made with it.
- 1
Style
Game icon (the default), Realistic, 3D render, Cartoon, Flat, Pixel art or Low poly.
- 2
Angle
3/4, Front, Isometric, Top-down or Side.
- 3
Lighting
Studio, Soft or Dramatic. It only appears for Realistic, 3D render and Low poly.
- 4
Extra detail
Turn on Accent color and pick a color, and/or write something every icon must have, for example worn or with a brand logo.
- 5
Quality
Standard or High. High costs more per icon. The price shows on each option.
These choices change what gets generated, so changing them means generating again. If you only want a different size or border, use Output instead, which is free.
Set the file you download (Output)
Click Output in the left rail. Everything here is applied when you download, on your computer. Changing it does not regenerate anything and costs nothing, and the results update as you change it.
- 1
Size (px)
64, 100, 128, 256, 512 or 1024. 100 is what ox_inventory and qb-inventory use.
- 2
Padding
Empty space around the object, from 0 to 20%.
- 3
Outline
None, White, Black, or a Color you pick.
- 4
Shadow and background
Shadow adds a soft drop shadow. Tile background puts the icon on a rounded square in a color you pick. Leave it off to keep the background transparent.
- 5
Check it in a slot
Turn on Preview in a slot above the results to see the icons on a dark inventory square.
Work with your results
New icons appear under Results. Each card has the icon, its name and three buttons.
- 1
Rename
Click the name under the icon, type the new one and click away. The file name follows. If two icons share a name, the second goes into the pack with
_2and the card shows it. - 2
PNG
Downloads that icon alone, with your Output settings.
- 3
Generate again
The circular arrow makes the same item again for the same price, if you did not like the result.
- 4
Share
The globe button shares the icon in the public gallery. Others can see it. Only subscribers can reuse its settings, and they pay their own credits to generate.
Your icons tab lists everything you generated before, grouped by pack. Click Open to bring a pack back into Results.
Projects
The bar at the top left of the results area is your project. What you generate is added to the open project, so you can come back to it later.
- Click it to switch projects, start a new one, rename, duplicate or delete.
- Add to the open project copies icons from another project into the one you have open. The other project stays as it is.
- Projects are saved in this browser. Paid plans also keep them in your account, so they open on any computer.
What you download
There are two downloads.
- PNG on a single card: one file named
<item name>.png. - Download pack (N), above the results: a zip named
orb_icons_<N>.zipwith every finished icon.
What is inside the pack zip:
| File | What it is |
|---|---|
icons/<name>.png | One PNG per item, transparent background, at the size you chose in Output. |
ox_inventory_items.lua | Item entries ready to paste into ox_inventory/data/items.lua. |
qb_core_items.lua | Item entries ready to paste into qb-core/shared/items.lua. |
README.txt, LEEME.txt, LEIAME.txt | Where each file goes, in English, Spanish and Portuguese. |
The item entries use the file name as the item name, a label made from it (burger_deluxe becomes Burger Deluxe) and a weight of 100. Change the weight and label to suit your server.
Costs: 2 credits per icon in Standard quality and 6 in High. Failed icons give their credits back. On the Free plan, AI tools are paid with your welcome credits or credits you buy, not with the monthly Free credits. See pricing. The library and every Output change are free.
Install it on your server
Icons are not a resource of their own. They go inside your inventory, and the items go in the item list. Do it for the inventory you use.
ox_inventory:
- 1
Copy the icons
Copy everything in the
iconsfolder intoox_inventory/web/images/. - 2
Add the items
Open
ox_inventory/data/items.luaand paste the entries fromox_inventory_items.luainside the table. Skip any item you already have. - 3
Restart
Restart the server so the new items and icons are loaded.
qb-inventory (or ps-inventory) with QBCore:
- 1
Copy the icons
Copy everything in the
iconsfolder intoqb-inventory/html/images/. - 2
Add the items
Open
qb-core/shared/items.luaand paste the lines fromqb_core_items.lua. Skip any item you already have. - 3
Restart
Restart the server so the new items and icons are loaded.
The file name is the item name. If you rename one, rename the other to match, or the inventory shows an empty square.
Common problems
The item shows an empty or broken icon in game
The PNG name does not match the item name. Check that burger.png sits next to an item called burger, in the right images folder for your inventory. Rename one so they match and restart.
One icon in the pack failed
Its card shows the error and the credits were already refunded. Click the circular arrow on that card to try it again, or change its description a little first.
It says I do not have enough credits
The total is the price per icon times the number of items. Lower the number of items, switch Quality to Standard, or get more credits from pricing.
The icons in my pack look like they come from different games
Turn on Consistent style before generating, and keep the same Style and Angle for the whole list. Generate the pack in one batch rather than one item at a time.
The icon looks blurry or too small in the slot
Raise the Size in Output to match what your inventory shows, or lower Padding so the object fills more of the square. Both are free to change.
Questions
Do icons work with ox_inventory and qb-inventory?
Yes. The default 100x100 PNG with a transparent background is what both use, and the pack includes item entries for each.
Can I change the size or add an outline after generating?
Yes, and it is free. Size, padding, outline, shadow and background are applied when you download, so you can change them as often as you like.
Are the 951 library icons free?
Yes. Downloading one, a page or the whole library costs nothing.
How many icons can I make at once?
Up to 40 per batch. For more, generate several batches.
Does it install the icons on my server by itself?
No. This tool gives you files to copy into your inventory folder. Follow the install steps above.
Checked against the tool on November 15, 2026.
Try Icon Generator now
Describe an item or drop an image and get a FiveM inventory icon: transparent PNG, named, 100×100. One icon or a whole pack.

