
Tattoo Creator: guide and tutorial
Any image, turned into a tattoo pack your shop can load.
Video tutorial coming soon
Until then, the written guide below takes you through every step.
What it is
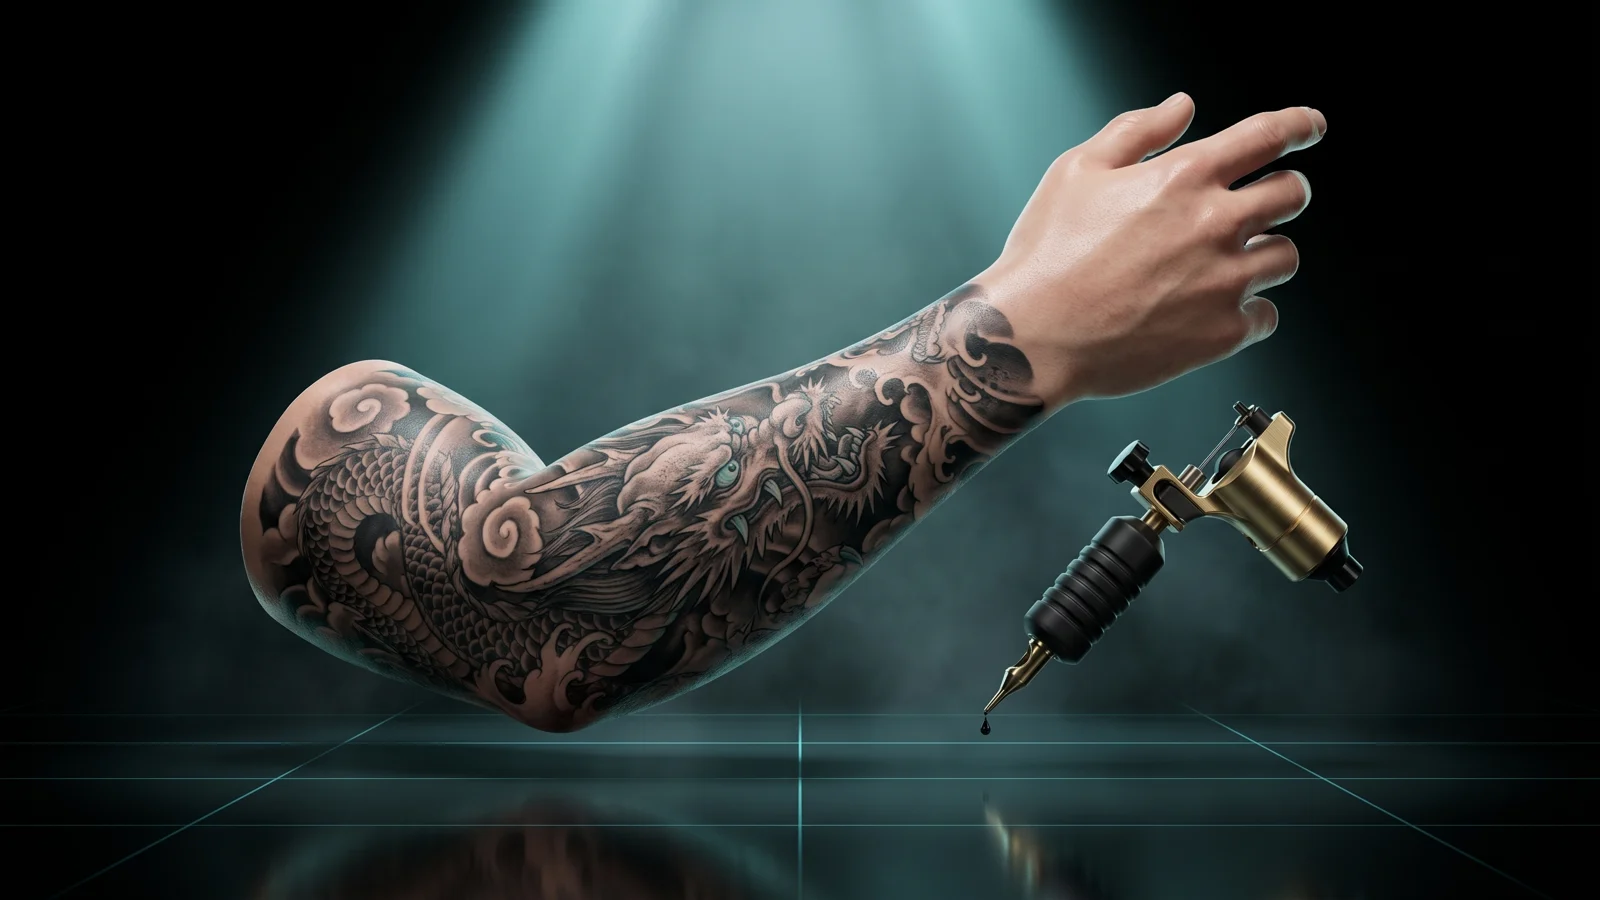
The Tattoo Creator turns an image into a real GTA tattoo. You drop a design, clean its white background if it has one, choose the body part and drag it on a 3D body to the exact spot, size and angle. Put several tattoos in one pack, each on its own body part. You download a resource (the folder you drop into resources/) with the texture already built, the file that tells the game where each tattoo goes, and ready-made catalogue files for illenium-appearance, fivem-appearance and qbx_tattooshop, plus test commands to see them on your character.
Who it's for
- Servers that want their own tattoos in the tattoo shop: gang symbols, server logos, event designs.
- Owners who have artwork but no idea how GTA overlays or hashes work.
- Anyone who wants male and female versions of the same tattoo without doing it twice.
Before you start
- An account on THE ORB Studio, signed in with Discord, and membership in our Discord server.
- Your design as PNG, JPG or WebP, up to 30 MB. A PNG with a transparent background works best; a drawing on white also works because the tool can remove the white.
- On the Free plan each download uses credits and a pack holds up to 4 tattoos; paid plans hold up to 24 (see pricing).
Bring in your design
The rail has four steps: Design, Place, Pack and Export. You start in Design, on the Image row.
- 1
Drop your design
Drag the file onto the box or click it to choose one. PNG, JPG or WebP.
- 2
Check the preview
A small square shows your design on skin, already trimmed of empty margins, with its size in pixels.
- 3
Swap it if needed
Drop another file on Swap the image. One tattoo is one image; to add a second design you build a pack (see below).
If you worked on something before, a note offers Pick it up or Discard. Nothing is restored unless you ask for it.
Remove a white background
A drawing saved on white would show as a white rectangle on the skin. When the tool sees a drawing on white it removes the background on its own and tells you.
- 1
Open the Background row
Use the Remove white background switch to turn it on or off.
- 2
Choose how
Edges only removes the white that touches the borders and keeps white enclosed by the art. All white removes every white pixel, which suits line art.
- 3
Set the tolerance
Raise it if a light halo remains around the design. Lower it if light parts of the art disappear.
If your image is more than 90% solid, a warning appears under it with a button to remove the white background in one click.
Frame the image
- 1
Open Framing
It appears once there is an image.
- 2
Zoom
From 0.4x to 3x, to show more or less of the image.
- 3
Pan across and Pan down
Move the image inside the frame to keep the part you want.
Place it on the body
Open Place. The tattoo is projected onto a 3D body, so it bends over the chest, shoulder or calf the way ink would.
- 1
Choose the zone
In Where it goes: Torso, Left arm, Right arm, Left leg, Right leg or Head. You can also click that part of the body in the viewer.
- 2
Drag it into place
Drag the tattoo on the body to move it. Drag elsewhere to turn the body, right-drag to move the camera, scroll to zoom.
- 3
Set Size and angle
Size is in centimetres. Rotation goes from 0 to 359 degrees. Ink lowers the strength from 100% down to 15% so it reads softer on the skin.
- 4
Mirror it
The two Mirror buttons flip the artwork left to right or top to bottom.
- 5
Check both bodies
The Male and Female buttons above the viewer only change the preview.
| Zone | Covers | Widest tattoo |
|---|---|---|
| Torso | Chest, stomach and back | 44 cm |
| Left or right arm | Shoulder down to the wrist | 13 cm |
| Left or right leg | Thigh, shin and ankle | 19 cm |
| Head | Face, neck and scalp | 13 cm |
When you change zone the tattoo keeps its real width. If it does not fit the new zone, it shrinks to the width of that body part and a message tells you.
Undo and Redo (Ctrl+Z and Ctrl+Y) are above the viewer. They cover everything, including removing a tattoo from the pack.
Build a pack of several tattoos
GTA draws one image per zone per tattoo. To have one on each arm and one on the chest, you make three tattoos in the same pack. They all ship in one collection and show up together in your shop.
- 1
Name this tattoo
In Pack, write This design's name. It is the name players see in the shop catalogue.
- 2
Choose Build for
Male, Female or both. A male tattoo does not apply to a female character, so each one is built separately.
- 3
Pick the Texture size
256 for small designs (lightest), 512 for most (sharp at talking distance), 1024 for big back or chest pieces (four times the memory).
- 4
Press Add to pack
The editor clears so you can drop the next image and place it somewhere else.
- In the pack list, click a tattoo to open it again. It stays in the pack, and the button becomes Save changes. Start another lets go of it without changes.
- The eye shows or hides each tattoo on the body; Show all on the body shows the whole pack at once.
- The drop icon fades a tattoo so you can see what is underneath. It only affects the preview, not the file.
- The bin removes a tattoo from the pack (Ctrl+Z brings it back).
Your work is saved
While you are signed in, your pack saves itself to your account. The cloud icon at the top of the panel shows when it is saving, saved or could not save, and links to your account, where you can open it again later.
- If it cannot be saved to your account (for example you reached your plan's limit of saved projects), it stays on this machine and you are told.
- On this machine, the last thing you were doing is kept as a draft and offered when you come back.
What you download
Open Export. Collection name is the one setting here, and it matters.
- The collection name becomes the folder name and the name the game looks up. It has to be unique on your server: two packs with the same name do not both work.
- If you leave it empty, a name is made from the pack's contents, like
orb_tattoos_k3f9a. Exporting the same pack again gives the same name and replaces the old one; a different pack gets a different name. - The panel shows what it ships as:
<name>_overlays.
| File | What it does |
|---|---|
stream/<name>_overlays.ytd | The textures of every tattoo, already built. Nothing to convert. |
<name>_overlays.xml | The collection: zone, position, size and angle of each tattoo. |
fxmanifest.lua | Registers the collection with the game and loads the test commands. |
tattoos.json | Catalogue for illenium-appearance and fivem-appearance. |
qbx_tattoos.json | The same catalogue for qbx_tattooshop. |
example.lua | The test commands, and how to apply a tattoo by hand if you use neither script. |
README.md, LEEME.md, LEIAME.md | Install steps in English, Spanish and Portuguese. |
Press Export pack (or Export N tattoos when there are several). Your image is cropped and compressed in your browser; only the finished texture goes to our server, to build the .ytd. On the Free plan the button shows the credit cost; on paid plans it is free.
Install it on your server
- 1
Unzip and drop the folder in `resources/`
The folder is named after the collection.
- 2
Add it to `server.cfg`
With the collection name, as below.
- 3
Restart the whole server
Not just the resource. The game reads the tattoo collection only when the server starts, so restarting the resource alone registers nothing.
- 4
Test it in game
Connect with a freemode character and type
/tattoo_all.
ensure orb_tattoos_k3f9a
| Command | What it does |
|---|---|
/tattoo_all | Takes your clothes off and applies every tattoo in the pack at once. If it applies nothing, it prints why in the F8 console. |
/tattoo_test | Applies only the first tattoo. |
/tattoo_clear | Removes the tattoos and puts your clothes back. |
Any player can run those commands. Before your server is public, open fxmanifest.lua and put -- in front of the line client_script 'example.lua'.
To sell them in your shop: with illenium-appearance or fivem-appearance, add the rows of tattoos.json to the tattoo list your shop already loads. With qbx_tattooshop, add the content of qbx_tattoos.json the same way. Each row already carries the collection and the male and female names, so you never calculate a hash by hand. In tattoos.json the price starts at 0; change it to what you want to charge.
With ORB Core linked (Connect your server in Export), press Send to server instead. The pack is installed in resources/[orb]/[tattoos]/ and started. If the tattoos do not apply afterwards, restart the whole server once, for the reason above.
Common problems
/tattoo_all says nothing was applied
Another resource registers a collection with the same name, or the server was not fully restarted after installing. Rename the collection in the Studio, export again, and restart the whole server.
The console says this client does not have the texture yet
You started the resource with the game already open: the tattoo definition arrives live but the texture only reaches players when they connect. Restart the whole server and reconnect. If it persists, delete FiveM Application Data/data/cache and join again.
Nothing shows on my character at all
Tattoos only apply to the freemode characters (mp_m_freemode_01 and mp_f_freemode_01). Clothing also hides them, which is why /tattoo_all undresses you first.
The tattoo is a white or black rectangle
The image has a solid background. Open Background and turn on Remove white background, or upload a PNG with transparency.
The tattoo got smaller when I changed zone
It kept its real width, and that zone is narrower. An arm is at most 13 cm wide, so a 27 cm chest design shrinks to fit.
The export says the pack has too many textures
Each tattoo is one texture. The Free plan allows 4 per pack and paid plans 24. Split it into two packs with different collection names, or upgrade.
Questions
Does it work with my tattoo shop?
The pack ships catalogue files for illenium-appearance, fivem-appearance and qbx_tattooshop. It does not ship shop_tattoo.meta, so the game's own tattoo parlours do not list it.
Why do I need male and female versions?
The two freemode bodies are mapped differently, so a tattoo made for one lands in the wrong place on the other. Tick both in Build for and both are made from the same design.
Can one tattoo cover the chest and an arm?
No. In GTA a tattoo lives in one zone. Make one tattoo per zone in the same pack.
Can I add tattoos to a pack I already installed?
Yes. Open the pack, add the new tattoos, keep the same collection name and export again. The new folder replaces the old one; restart the whole server.
Does my original image leave my computer?
No. Cropping and compression happen in your browser. Only the finished texture is sent, to build the .ytd, and it is deleted once the pack is built.
Checked against the tool on November 15, 2026.
Try Tattoo Creator now
Turn any image into a FiveM tattoo: crop it, place it on the body, and download a pack your shop can load.
More guides in Characters
- Animation CreatorAny animation or video, on the GTA ped, as emotes.
- Jewelry CreatorCustom chains, rings and bracelets, generated in your browser.
- Vest CreatorA vest from the game or your own, designed on the body.
- Clothing CreatorDesign clothing on the body, get a resource.
- Ped CreatorDress the FiveM ped, or make a new one with AI.
- Animal CreatorMake a FiveM animal with AI.


