
Vest Creator: guide and tutorial
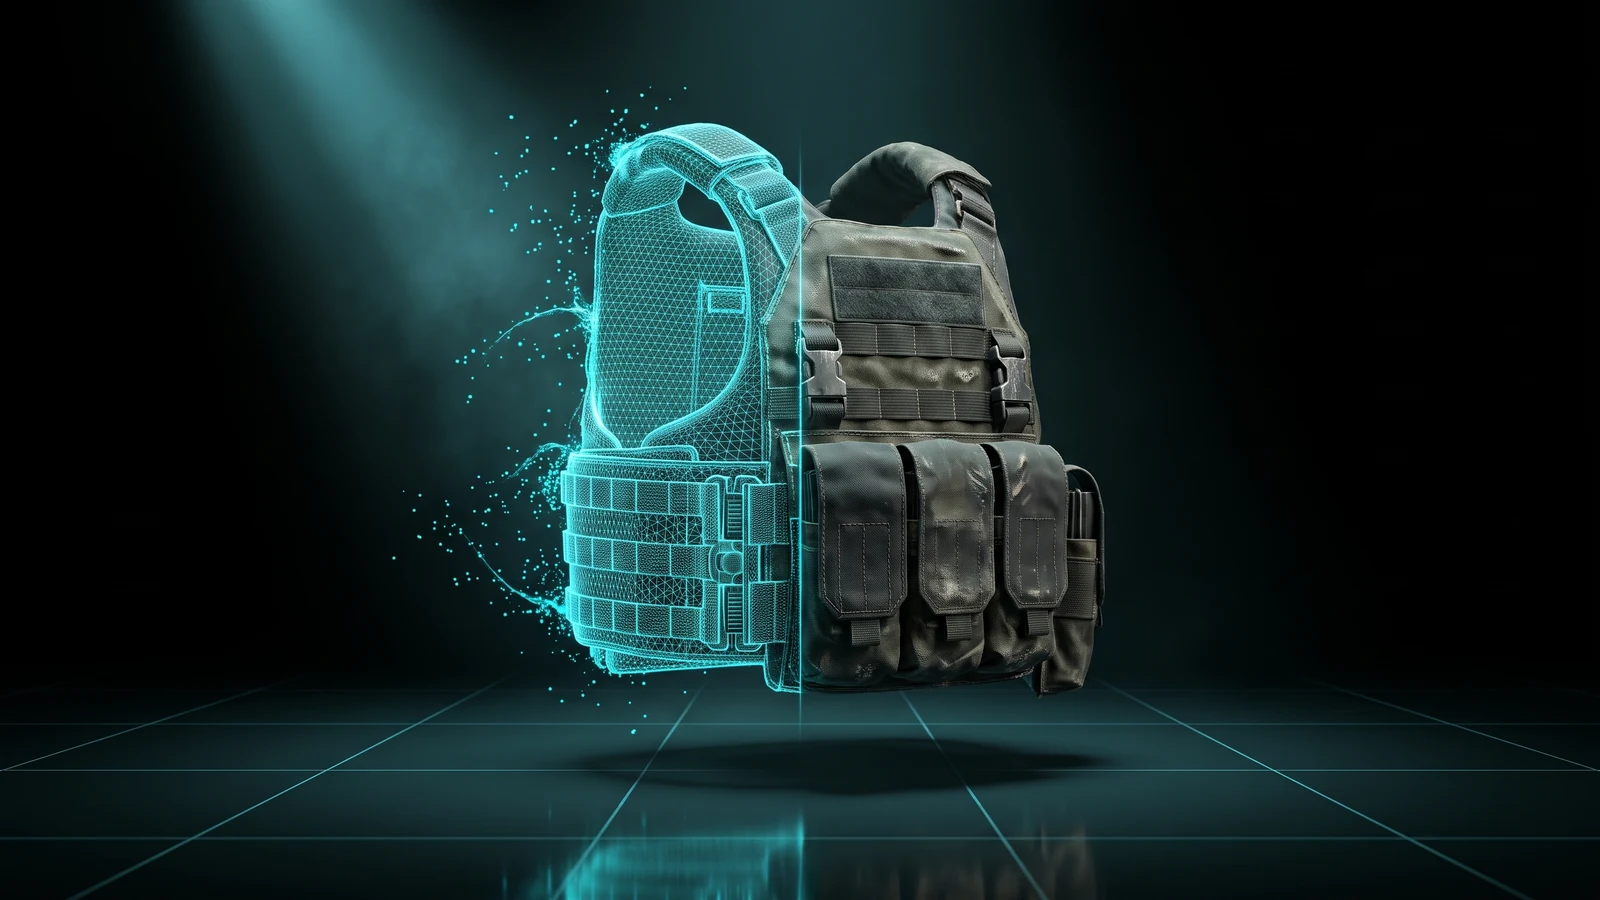
A vest from the game or your own, designed on the body.
Video tutorial coming soon
Until then, the written guide below takes you through every step.
What it is
The Vest Creator is built for body armour and tactical vests. You pick one of the vests that ship with GTA V (male or female) or upload your own .ydd, see it on the body, and design it in 3D: colour by part, logos and text like POLICE or SHERIFF, paint by hand, glow, and real 3D objects such as a radio or a pouch. You download a resource (the folder you drop into resources/) that either replaces a colour of that vest for the whole server or adds your vest as a new item in the clothing menu.
Who it's for
- Servers with police, sheriff, SWAT, EMS or security jobs that need their own vests.
- Gang and faction servers that want armour in their colours.
- Owners who bought a vest and want to brand it without opening a 3D program.
Before you start
- An account on THE ORB Studio, signed in with Discord, and membership in our Discord server.
- Your logos as PNG, JPG, WebP or SVG. A PNG with a transparent background looks best.
- On the Free plan each download uses credits (see pricing). Designing is free.
Pick a vest
The tool opens on Garment, with a vest already on the body. The list only shows vests: Vest 1, Vest 2 and so on, plus the ones you uploaded.
- 1
Choose the body
Male or female, with the buttons at the top of the list. Switching keeps you on the equivalent vest when there is one.
- 2
Click a vest
It loads on the body. The body is shown by default so you can see how the vest sits.
- 3
Pick the base colour
If the vest comes in several colours, open Base colour and click one. Whatever you leave unpainted keeps this colour.
Upload your own vest
- 1
Press Upload my vest
Under the male and female buttons.
- 2
Choose the files
The
.ydd(the 3D model) with its.ytdfiles (its textures), or the zip of the resource that contains them. - 3
Design on it
It opens on the body and stays at the top of the list, saved in this browser. Remove it with the X on its card.
- This works on every plan. Upload one vest at a time, up to 80 MB.
- To replace a colour of your own vest, the file name has to include its collection (the part before
^) and its texture must not be built into the.ydd. If not, it goes out as a new item.
Colour it by parts
Open Design. The first row, Colour, is the quickest way to change the look.
- 1
Pick a colour
From the swatches, or Another colour for any shade.
- 2
Whole vest
Paints the entire vest.
- 3
Tap a part
Click a strap, a plate or a pocket and only that part changes. Keep clicking other parts; Esc finishes.
- 4
Or draw by hand
Brush, Eraser or Fill, with Size, Hardness and Opacity. Drag on the vest to paint.
[and]change the brush size.
Add logos and text
- 1
Press Text or Image under Add on top
Text starts as black letters with a white outline. Images accept PNG, JPG, WebP, SVG, GIF, MP4, WebM and MOV.
- 2
Click the vest where it goes
Chest, back or a strap. Use Front and Back above the viewer to turn the camera.
- 3
Adjust it
In the selected layer: size, rotation, flip, font colours and outline. Placement chooses Sticker (on the body), UV sheet (on the flat texture) or Whole garment.
- 4
Keep it to one part
Where it shows → Only on some parts, then click the parts where it should appear.
- Shape adds stripes, circles, stars, chevrons and other simple shapes.
- Your design lists every layer; the top one is drawn on top. Arrows reorder, the eye hides.
- A GIF or video makes the vest move in game (up to 8 seconds, needs Chrome or Edge to download).
- Glow in the dark makes a layer light up at night; Glow strength goes from 0.5 to 8.
Add a radio, pouch or badge
Press Object under Add on top. The object follows the body when the character moves.
- Image with volume: a PNG with transparency becomes a solid badge or patch that sits on the fabric.
- 3D model: a
.glbup to 20 MB and 60,000 vertices. - Prop Library and My props: ready-made objects, or the ones you made with the Prop Creator.
- 1
Add it
It appears on the chest, about 12 cm wide.
- 2
Place it
Choose Move, Rotate or Scale in its row and drag the handles. Then check it with the Left and Right cameras: from the front it can look attached while it floats.
With an object, the vest always goes in as a new item and cannot go in a pack. If you add too many, the download says there is no room left on the vest's texture; remove one and try again.
Projects and the vest pack
Your vests save themselves in this browser while you work. Projects in the rail only shows vests; garments from the Clothing Creator stay there.
- 1
Open or start one
Click a card to load it, or New project to clear the design on the same vest.
- 2
Collect several vests
Press Add to the pack, or the + on a project card.
- 3
Download them together
In Export, switch the button to Pack and press Download pack.
- The vest pack is separate from the clothing pack.
- A pack only carries vests that replace a colour; uploaded vests and vests with objects or glow download on their own.
- Two designs on the same vest and colour would overwrite each other, so the pack refuses them until you change one.
What you download
Open Export. Under How it goes in you choose between two outputs.
| Option | Result in game | Files |
|---|---|---|
| Replace this colour | That colour of the vest becomes yours for every player. | One .ytd in stream/, plus fxmanifest.lua, client.lua and READMEs in English, Spanish and Portuguese |
| Add as a new item | Your vest appears at the end of the vest list in the clothing menu. Nothing is replaced. | .ydd, .ytd and .ymt in stream/, a .meta, fxmanifest.lua, client.lua and READMEs |
- Collection name: only for a new item. Lowercase, no spaces; empty means
orb_pack. - Advanced → Texture size: 512, 1024 or 2048. 512 is what the game uses for most clothing.
- Advanced → Resource name: the folder name. Empty gives an automatic one.
- Image, template and gallery: save the texture as PNG, save the UV template, or share the vest in the gallery.
Press Download vest. The button shows the price on the Free plan; on paid plans it is free.
Install it on your server
- 1
Unzip
You get one folder.
- 2
Put it in `resources/`
Any subfolder works.
- 3
Add `ensure <resource name>` to `server.cfg`
Use the folder's name.
- 4
Restart the server
Connect and test.
ensure orb_ropa_task_2_ab12
Type /<resource name> in the game chat to put the vest on without visiting a shop. In illenium-appearance, fivem-appearance, qb-clothing and similar menus a new item sits at the end of the vest list.
With ORB Core linked (Connect your server in Export), press Send to server and it installs into resources/[orb]/[clothing]/ by itself. Players already online need to reconnect to see a new item.
Common problems
I cannot pick Replace this colour
Objects, glow and uploaded vests without a collection in the file name only work as a new item. Remove them, or keep Add as a new item.
The vest is invisible for players who were already online
New clothing attaches when a player connects. They need to reconnect.
A badge floats away from the vest
Select the object, choose Move and push it back against the fabric. Check from the side camera; images with volume follow the curve of the fabric on their own.
The download says there is no room for the objects
Each object needs a free spot on the vest's texture. Use fewer objects, or merge them into one model.
My uploaded vest is rejected
Send the .ydd together with its .ytd, or the resource zip, up to 80 MB. A file without a model, or with something that is not clothing, is refused.
Questions
Is this different from the Clothing Creator?
It is the same studio, opened on vests, with its own projects and pack. Everything in the Clothing Creator docs also applies here.
Can I upload a vest I bought?
Yes, on any plan. It stays in your browser and you design over it like any other vest.
Do my vests work with my clothing menu?
Yes. Replaced colours work with every menu. New items appear at the end of the vest list in menus that read the game's own count, such as illenium-appearance, fivem-appearance and qb-clothing.
Does it share Rockstar's files?
No. A replaced colour carries only your artwork, and a new item uses a copy of the model the player already has.
What does a download cost?
Free plan downloads use credits; on paid plans they are free. See pricing.
Checked against the tool on November 15, 2026.
Try Vest Creator now
Pick a vest from GTA V or upload your own, design it on the body, and get a resource that puts it in your server.
More guides in Characters
- Tattoo CreatorAny image, turned into a tattoo pack your shop can load.
- Animation CreatorAny animation or video, on the GTA ped, as emotes.
- Jewelry CreatorCustom chains, rings and bracelets, generated in your browser.
- Clothing CreatorDesign clothing on the body, get a resource.
- Ped CreatorDress the FiveM ped, or make a new one with AI.
- Animal CreatorMake a FiveM animal with AI.


