
Vehicle Creator: guide and tutorial
Build a unique car, spawn it with /car.
Video tutorial coming soon
Until then, the written guide below takes you through every step.
What it is
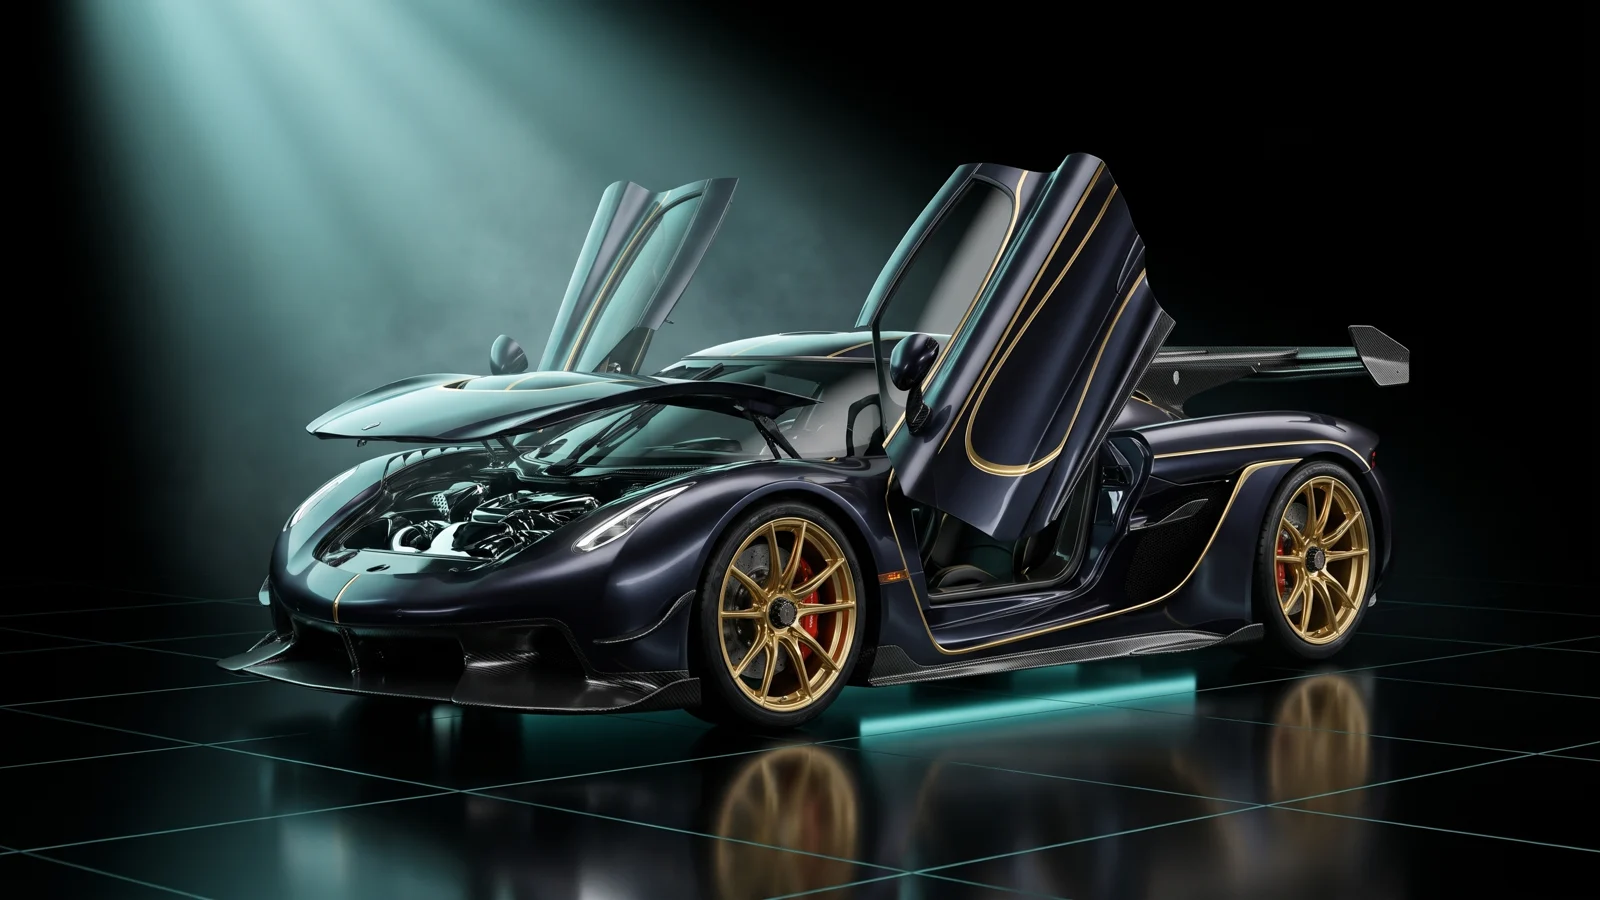
The Vehicle Creator builds a car of your own for your FiveM server, in your browser. You start from any GTA V car or upload yours, and change it on a 3D preview: paint, a livery, parts from any other car, wheels and stance, handling, lights, plate and more. When you download, the car is built into a model of its own with its own spawn name. You get a resource — the folder you drop into resources/ — and you spawn the car with /car and the name you chose.
Who it's for
- Server owners who want unique cars without Blender, ZModeler, OpenIV or CodeWalker.
- Police, EMS and job servers that need fleet cars with emergency lights, liveries and a set look.
- Owners who already have an add-on car and want to change its parts, badges or handling.
Before you start
- Sign in with Discord and stay in the THE ORB Discord to download.
- On the Free plan each car you download uses credits. On paid plans downloads are unlimited. See pricing.
- Uploading your own car needs a paid plan or the Pro Pass.
How the tool is laid out
The car sits in the middle. The steps are on the left rail, and the options of the current step are on the right panel. Next at the bottom of the panel moves you to the next step. You can also click any step on the rail.
The steps, in order: Vehicle, Paint, Livery, Parts, Wheels & Stance, Handling, Ride spots, Animations, Lights, Plate and Download. Boats skip Wheels & Stance and Plate.
The bar over the car has camera buttons (Front, Side, 3/4, Back, Top), buttons to open the doors, hood and trunk, an inside view, a night view, and Undo (Ctrl+Z) and Redo (Ctrl+Y).
The preview shows paint, wheel colour, tint, neon and body parts. Wheel styles and headlights show in game.
Step 1: pick a car
- 1
Search the garage
Type a name in the search box. Every car in GTA V is there with a photo, and a tag with how many mod-kit parts it has.
- 2
Click the car
It loads in 3D. Everything you can change appears in the next steps.
- 3
Or start from the example
On an empty page, Try it with an example car opens a car that is already built, with parts, paint and wheels. You can download it as is to test on your server, or change anything.
If you were building something before, the panel offers to pick it up. Press Resume, or Start fresh.
Use your own car
Press Your car in the Vehicle step. This is for paid plans and the Pro Pass. On the Free plan the lock screen may offer a one-time try paid with credits.
- 1
Choose the file
Upload the
.yftwith its.ytd, a CodeWalker.yft.xml, or the resource.zip. Files up to 80 MB. - 2
Wait while it is read
The tool reads the model, its textures and its meta files. It opens at the top of the list.
- 3
Work on it
Take parts off, add parts from game cars, swap badges, paint it. If its zip brings parts of its own mod kit, they show in the Parts step.
- A zip with several cars opens up to 15 of them. Each one downloads as a complete car.
- If you upload only the model, without
vehicles.metaorhandling.meta, the tool fills them in from the closest game car. You can change that Base car in the Download step. - To keep your own handling and meta files, upload the whole resource with its data folder.
- To download, the tool needs the binary
.yft. A.yft.xmlopens in the preview, but you need the.yftor the resource zip to export.
Step 2: paint
- 1
Body paint
Pick the Primary and Secondary colours, from a colour picker or from the game's own colour table. As it comes keeps the car's colour. Then pick the Finish and a Pearlescent colour.
- 2
Wheel colour
One of the game's colours for the rims.
- 3
Interior colours
One colour for the dashboard and one for the interior.
Two more cards are marked Beta, because they are not tested in game yet:
- Carbon fiber: click parts on the car (Shift + click adds more, up to 64), pick a weave size and a tint, and press Apply. Glass, lights and wheels can't take it.
- Glow at night: makes the whole paint, up to 16 parts, or livery layers light up after dark, with a glow colour and strength. See it at night shows it in the preview.
Step 3: livery
You design the livery right on the car, and it goes inside the car's model.
- 1
Start from a factory livery (optional)
If the car has liveries, The car's own liveries shows them. Tap one to put it on the car and design on top.
- 2
Add layers
In Layers, add text, images or shapes. The design covers the whole body.
- 3
Place them
Drag a layer across the body. Ctrl + wheel resizes, Shift + wheel rotates. The same layer options as the Livery Creator are there: font, colour, outline, opacity, both sides, placement.
- 4
Make a layer glow (Beta)
Turn on Glow at night on a layer and only that layer lights up after dark.
A GIF added as an image keeps moving: the livery is recorded as a short looping video, up to 8 seconds, and plays in game while the car is nearby. Recording it needs Chrome or Edge.
Step 4: parts
This step has several cards. Click any part on the car to pick it.
- 1
Added parts
Press Add a part from any car. Search every part of every car by type: bumpers, spoilers, hoods, exhausts, cages, Arena weapons and armour, interior. Only the ones that fit narrows it to parts that fit this car, and Your favorite parts keeps the ones you use. A car takes up to 24 added parts.
- 2
Place the part
Move, rotate or scale it with the bar under the car (W, R, E). Duplicate makes a copy next to it. Hide the stock one removes the factory part it replaces. Shift + click picks several parts to move together, and Group locks them as one.
- 3
Mounted weapons
Weapons taken from cars like the Arena cars still fire in game with the vehicle attack key. Uncheck Fires to keep one as decoration.
- 4
This car's own options
The parts the game gives this car in its mod kit, in their stock place.
- 5
Parts of the car
Click a part (a bumper, a door, a badge) and press Take it off. Put it back or Put everything back undo it. On a badge, Replace this badge swaps it for one of the GTA brands.
More cards in the same step:
- My parts: upload your own 3D part as
.glb,.gltf,.obj, or a FiveM.ydr/.yft. Up to 8 per project, 25,000 triangles (more gets simplified) and 2 textures. The tool can fix its size if it looks wrong. You can set it to move with a door, the hood or the trunk. - Accessories: whip antenna, shark fin antenna, short antenna, tow hitch and tow ring, up to 10. The tow hitch is where the game hooks a trailer.
- Lambo doors: the front doors open upwards in game. The preview opens them the usual way.
- Gunner turret: adds the Technical's turret with a gunner seat. Only for cars with 2 or 4 seats and no turret of their own.
- Wider car: stretches the body sideways; the wheels can move out with it. The collision gets wider in game too.
- Body shape: the Sculpt brush pushes the body out or presses it in where you click, with a size and a strength.
Every added part is built into the car with its own collision, so it is solid in game.
Step 5: wheels and stance
- 1
Pick the wheels
Choose a wheel Type, then press Pick the wheels to see every wheel of that type with a photo. Turn on Custom tyres if you want them.
- 2
Tyres
Set the wheel colour, Bulletproof tyres and Tyre smoke with its colour.
- 3
Stance
Start from a preset (Stock, Lowered, Fitment, Oni-kamber, Lifted) and adjust ride height, front and rear width, and front and rear camber. It is applied in game too.
- 4
Wheel size
Size, width and tyre height. Only with a mod-shop wheel picked above. Tyre height changes the tyre in game; the preview keeps it as is.
Air suspension (Beta) raises and lowers the car with two keys while driving, with a hiss of air. Everyone nearby sees it. You pick the keys, the speed, whether it drops when parked, and above which speed it locks.
Step 6: handling and engine
- 1
Handling
Pick a preset (Stock, Street, Sport, Drift, Offroad, Drag, Heavy), then tune top speed, acceleration, brakes, grip, slide, suspension stiffness, weight, steering angle and drive (RWD, FWD or AWD). This is the real physics in
handling.meta. - 2
Engine
Choose Combustion or Electric. Under Engine sound, pick a source: a Game car, a Sound pack, or Your own.
- 3
Pops & bangs
Flames and bangs from the exhaust when you lift off at high revs. Pick a flame colour, and turn on Flames on both sides if the car has two exhausts but only one flames.
- 4
Pre-installed upgrades
Engine, brakes, transmission, suspension, armour and turbo, already fitted when the car spawns. Players can still change them at the customs.
- 5
Abilities
Amphibious (drives on water), hover mode (press X to fly) and rear seats (2+2). Test them on your server: how well a car floats or flies depends on its shape and weight.
- Sound pack: the sounds come from a free sound pack made by other authors. It is not inside your resource; you install it on your server. Without it running, the car keeps its factory engine sound. The README explains where to get it.
- Your own (Beta): upload an mp3, ogg or wav up to 2 MB. A few seconds of the engine running steady works best. You can set the loop, the pitch at idle and at full revs, the volume, and whether the game's engine stays underneath.
Step 7: ride spots
Add extra places to ride, up to 16: sitting, standing on the back, hanging off the side, or sitting in the door.
- 1
Add a spot
Pick a pose and place it on the car in the viewer.
- 2
Pick the animation
Sitting, straddling, holding on, standing, arm up, carrying a box, or your own animation (dictionary and clip).
- 3
Use it in game
Walk up to the car and press E. Press E again to get off.
Step 8: animated parts
Any part can move in game with a key: doors, hood, trunk, a spoiler, parts you added, accessories or the 3D plate.
- 1
Pick the part
In Animate a part, click a part on the car. Shift + click adds more parts that move as one. Press Animate.
- 2
Start from a preset
Lambo door, sunroof, plate drops, plate flips, spoiler rises, front-hinged hood, spins, hops once, or custom.
- 3
Set the motion
Move the hinge, add keyframes on the timeline (up to 12), and pick the duration (up to 10 seconds) and the motion: steady, smooth or bounce.
- 4
Pick the key and what it does
Keys H, G, U, Y, N, B or L. Open / close plays it forward and back. Loop on / off repeats it. Play once plays it and jumps back. A Wait of up to 5 seconds makes a part move after the others.
- 5
Try it
Press Try with the key to see it in the preview.
A car takes up to 16 animated parts. H also switches the headlights in GTA, so pick another key if your server needs it. Players can rebind it in Settings › Key bindings.
Step 9: lights
- 1
Headlights and glass
Xenon headlights with a colour, smoked lights (light, medium, dark), window film (smoked, colour or chameleon) and window tint.
- 2
Neon
Turn it on, pick the colour and the sides. Animation has Still, Chase, Flow, Scanner, Pulse, Strobe and Rainbow, with speed and direction.
- 3
LED lights
Add a strip, mirror indicator, pod or light bar, up to 16. Each one lights up with the indicator, headlights, tail lights, brakes or reverse. Stick to the body bends a strip to the shape behind it. Sequential makes the indicator sweep.
- 4
Emergency lights
Add a light bar, clean bar, mini bar, beacon, grille, side or rear lights, lights from a game car, or upload your own
.glb(up to 2 MB). The game allows 20 lights per car.
In How they work in game you pick the pattern (alternate, fast, slow, double flash), the lights key and the siren key, the siren sound, whether the headlights flash too, and whether traffic pulls over.
Step 10: plate, extras and more
- Plate: up to 8 characters and a style. Empty keeps the plate the game gives. No plate takes it off; your garage may still use the plate text.
- Custom 3D plate: Use my own plate replaces the plate with one you design: background, number, top and bottom lines, and a frame (LED too). Animate the plate makes it hide with a key.
- Extras: parts the game can show or hide on this car, like a roof rack or a bull bar. Leave each one as it comes, force it on, or force it off.
- More: pick one of the car's liveries and how much dirt it has.
Step 11: name it and download
- 1
Name the car
In The build, type the Command name. That is the spawn name:
/carand that name. It needs 3 to 20 letters, numbers or _, starting with a letter, and it can't be the name of a game car. - 2
Label and resource
Label is a friendly name for the build. Resource is the folder name (by default
orb_vehicles). - 3
Keep it light
Remove unused textures is on by default: textures inside the model that no part uses are left out.
- 4
Download
Press Download this build. The car is built into a model of its own on our server, and the zip downloads.
To put several cars in one resource, press Add to pack for each build, switch to Pack, and press Download the pack. Each car needs a different command name.
If your server runs ORB Core, Send to server installs it for you. See the section below.
Projects, sharing and photos
- Projects (top of the panel): your builds save themselves while you work. On the Free plan they stay in this browser; on a paid plan they are also saved in your account.
- Share: Create link and send it. Up to 20 people can edit the same car with you at the same time, signing in with Discord. Changes show up for everyone in a second or two. Stop sharing cuts the link; the project stays in your account. Animated livery layers and files over 60 MB stay on your computer.
- Photo studio (Download step, under Photos and gallery): pick a scene and a camera, Take photo or record a 360° video, and Post to gallery & Discord. The Cinematic button turns a photo into artwork with AI and uses credits.
Send it straight to your server
- 1
Install ORB Core once
Put the
orb_corefolder inresources/, addensure orb_coreandadd_ace resource.orb_core command allowtoserver.cfg, and restart once. - 2
Link your account
Press Connect your server under the download button. Type
/orblinkand the 6-letter code in the game as an admin, or in the server console. The code works once and expires in 10 minutes. - 3
Send
Press Send to server. The server installs the car into
resources/[orb]/[vehicles]/and starts it, with no restart, because its meta files go with it.
Sending the same pack again replaces it, so keep every car in it. If the server is off, press Download instead.
What you download
You get a .zip with the resource name (by default orb_vehicles). For each car, with <name> being its spawn name:
| File | What it is |
|---|---|
stream/<name>.yft | The car's model, with your parts, removed parts, paint and livery built in |
stream/<name>.ytd | The textures of an uploaded car, renamed to the new name |
stream/<name>_a*.ydr and <name>_anim.ytyp | Only with animated parts: each moving part as its own model |
data/<name>/handling.meta, vehicles.meta | How it drives and what it is, with your handling and upgrades |
data/<name>/carvariations.meta, carcols.meta | The colours it spawns with and, with emergency lights, their pattern |
client.lua | Only when needed: puts on what a model can't carry (neon, xenon colour, tint, plate, extras, stance, smoke, lights keys, animations, ride spots). It has no commands to run. |
html/<name>/ | Only with an animated livery: the hidden player and the video |
html/orb_audio/ | Only with your own engine sound or air suspension: the sounds |
fxmanifest.lua | Tells FiveM what to load |
README.md, LEEME.md, LEIAME.md | The install steps in English, Spanish and Portuguese |
Install it on your server
- 1
Unzip it
Drop what comes out of the zip inside
resources/on your server. - 2
Add it to server.cfg
Add
ensureand the folder name. - 3
Restart the server
New cars load on a restart.
- 4
Spawn it
Use
/carand the command name, like any add-on car. For a framework garage (QBCore, ESX, Qbox), add the name to its vehicle list.
ensure orb_vehicles
- Emergency lights: K turns them on and off while driving, J plays the siren (unless you picked other keys). Players can rebind them in Settings › Key bindings › FiveM.
- Hover mode: X while driving.
- Animated parts: the key you picked for each one.
- Ride spots: walk up to the car and press E.
- Sound pack engines: install the sound pack too and add its
ensuretoserver.cfg, as the README says.
For an uploaded car, the new resource is the whole car. Ensure this one instead of the original: both at once load the car twice.
Common problems
It says the spawn name belongs to a game car, or the name is not valid.
Pick another command name in the Download step: 3 to 20 letters, numbers or _, starting with a letter, and not the name of a GTA V car.
It says my car's file isn't here any more.
The page was reloaded and your uploaded car was not saved in your account. Upload it again with Your car; your build stays.
My uploaded car opens but won't download.
It was uploaded as a CodeWalker .yft.xml. Exporting needs the binary .yft. Upload the .yft or the resource zip that has it.
The turret, or the emergency lights, block the download.
The turret only fits cars with 2 or 4 seats and no turret of their own. A car that already has 20 emergency lights has no room for more. Remove what you added and download again.
The car has its factory engine sound in game.
If you picked a sound pack, the pack is not running. Install it, add its ensure and restart. The F8 console says so once.
It says I ran out of credits.
On the Free plan each car uses credits. Wait for next month's credits or move to a paid plan, where downloads are unlimited. See pricing.
The wheels or headlights look different in game.
The preview does not show wheel styles or headlights. They show in game as you picked them.
Questions
Do I need Blender or ZModeler?
No. You build the car in your browser and the model is put together on our server.
How do I spawn the car?
With /car and the command name you chose, from a garage, or from any script. It comes out exactly as you built it, with no commands to apply.
Does it replace the original GTA car?
No. Every car is a new model with its own name. The original car stays as it was.
Can I put several cars in one resource?
Yes. Add each build to the pack and download the pack. Each car needs a different command name.
Does it work on ESX, QBCore and Qbox?
Yes. The car is a normal add-on vehicle. Add its name to your garage or shop list like any other add-on car.
Can I change the car later?
Yes. Open it from Projects, change it, and download again with the same command name and resource name. Replace the old folder and restart.
Checked against the tool on November 15, 2026.
Try Vehicle Creator now
Pick any GTA V car, put on parts from any other car, change wheels and paint, design its livery on a 3D preview, and download the finished car — spawn it with /car.
More guides in Props & models
- 3D Model → FiveMA 3D model in, a FiveM prop out: textures and collision included.
- Prop CreatorDescribe a prop, or drop a photo, and get one made.
- Weapon CreatorYour model in, an add-on weapon out.
- Prop LibraryReady 3D objects to turn into FiveM props.
- Vinewood Sign CreatorYour city's name on the Vinewood hill.
- Billboard CreatorYour ads on billboards, walls and shopfronts.
- VFX CreatorCustom particle effects for your server.
- Asset OptimizerThe same resource, lighter: textures that load.
- Livery CreatorDesign a livery on the car, get a resource.


