
Weapon Creator: guide and tutorial
Your model in, an add-on weapon out.
Video tutorial coming soon
Until then, the written guide below takes you through every step.
What it is
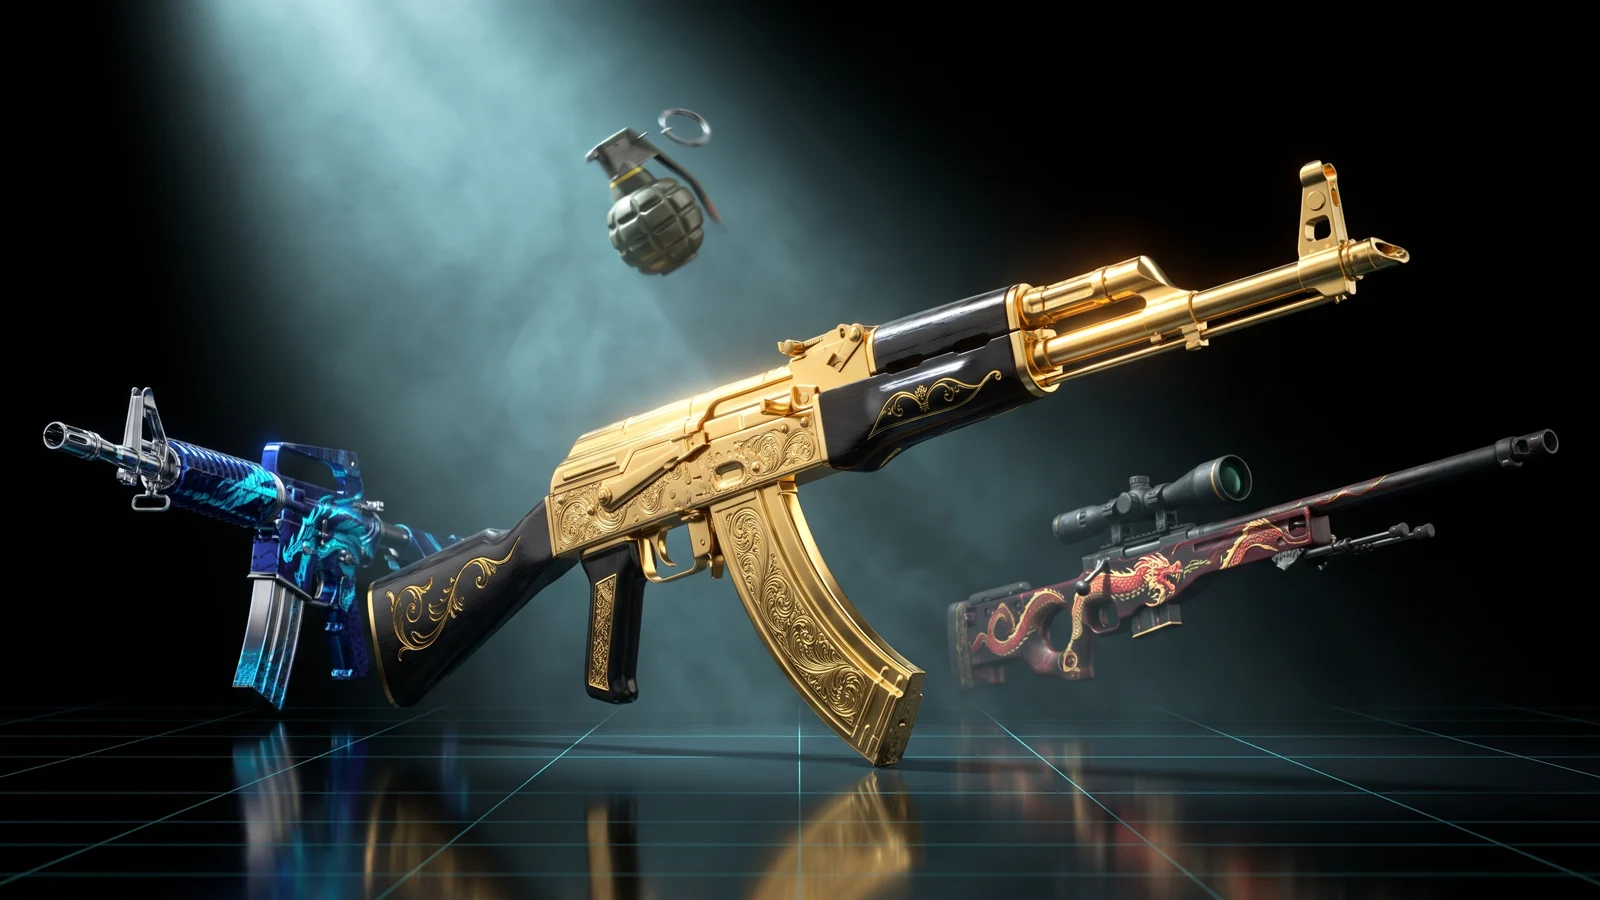
The Weapon Creator turns a 3D model into an add-on weapon for FiveM: a new weapon that sits next to the game's own ones, with its own name, stats and attachments. You start from one of the game's weapons, your own .glb, or one generated by AI. Then you go through eight steps: choose its kind and size, set up its attachments, place the points the game reads (where the shot comes out, where the casings fly, where the left hand goes), paint it, set its numbers, line up the first-person sights, and build it. You get a resource with the model and its skeleton, the meta files the game needs, and test commands. It works on standalone servers and with ox_inventory, QBCore and ESX.
Who it's for
- Server owners who want a custom weapon for a gang, a job or an event without a 3D artist or a developer.
- Owners with a weapon model who do not know how to give it a skeleton and meta files.
- Anyone who wants a reskinned or retuned version of a GTA V weapon under its own name.
Before you start
- A THE ORB account. Building needs you to be signed in.
- One of these: a game weapon from the list, your own model as .glb or .gltf with the barrel pointing forward (up to 48 MB), or credits to generate one with AI.
- Access to your server's files and
server.cfg, and a server restart at the end.
Step 1: Model
The left rail shows the eight steps in order. Next takes you forward, and you can go back to any step you already did. Take the tour, at the top, walks you through them the first time.
- 1
Start from a game weapon
In Game weapons, search the list and click one. It loads with its own bones and attachment points, where the game puts them. Name it later and it becomes your own weapon.
- 2
Or use your own model
Under Use your own model, drop a .glb or .gltf, or click Choose. The barrel has to point forward. The tool measures its length and suggests a kind (pistol, rifle and so on) from it. If the model came in far too big or too small, it is rescaled and you are told.
- 3
Or generate one with AI
In Generate with AI, choose Text and describe the weapon, for example a compact SMG with a folding stock, or choose Image and drop a photo or concept art. Pick a Type, or Detect from the image. Press Generate. It takes about a minute and you can keep browsing: it stays in Tasks.
- 4
Reopen what you made
Yours lists the weapons you generated before. Click one to open it without paying again.
Your text is checked before anything is spent: it has to describe a weapon. If the generator refuses it or fails, you are not charged. If what came out is not a weapon, Move to the Prop Creator sends it there.
Step 2: Kind & size
The kind decides how the character holds it, its animations, its sound and its default numbers. A rifle is not held like a pistol.
- 1
Choose the kind
Under Kind: Pistol, SMG, Assault rifle, Shotgun, Sniper, Machine gun, Heavy, Thrown, Melee or Other. If the model's length belongs to another kind, a note offers Use <kind>.
- 2
Set the size
Under Size, set its length in centimetres. The tool shows the size of similar game weapons so you can match them. Back to the size the file came in at undoes it.
- 3
Stand it upright
Under Standing, use Quarter turns or type the exact degrees if it came in rotated. You can also use Rotate above the viewer: drag the rings.
- 4
Seat it in the hand
Use Move above the viewer to slide the weapon in the character's hand; attachments come along. Compare puts a GTA V weapon of the same kind next to yours, at real size, so you can see if it looks right.
Step 3: Attachments
Attachments are real GTA weapon components: they show up in the weapon wheel, go on and off like any game attachment, and other players see them. There are five slots: Magazine, Scope, Suppressor, Flashlight and Grip. Melee weapons take none.
- 1
Sort the pieces of the model
If your model has loose pieces, they are listed under Pieces of the model. For each one, say what it is: Part of the weapon, one of the attachment slots, Ammo (what it fires), or Throw it away.
- 2
Choose what goes in each slot
For each slot pick Not mounted, Mount only (declares the point but no model), one of the game's own components for that slot, or one of yours (a piece cut from your model or generated with the weapon).
- 3
Adjust size and tilt
Click a slot to select it. If it has a model of its own, Size and Tilt open up. Only that piece moves; the weapon stays where it is. Double-click the size to reset it.
- 4
Tidy up
Show all and Hide all toggle every attachment in the viewer. Align pieces clears each piece's own tilt. Reset all puts every attachment back on its measured spot.
If you start from a game weapon, the tool tells you when that weapon does not take a given attachment in the game. You can still add it; check where it sits in the viewer.
Step 4: Bones
Bones are invisible points inside the model that the game reads. They travel inside the model file, which is why you place them here and not in a text file afterwards. They start in a measured default spot for the kind; this step is for fine-tuning.
- 1
Read what each point is
Tap a point on the weapon. The panel tells you what it does: gun_muzzle is where the flash and the bullets come out, gun_vfx_eject is where the casings fly, Left hand is where the other hand grips, and the WAP points are where attachments mount.
- 2
Drag it into place
Drag the point onto the weapon. Hold Shift to push it forward or back. Ctrl+Z undoes, Ctrl+Shift+Z redoes; the arrows next to the viewer do the same.
- 3
Test the muzzle
Click Fire to shoot once in the viewer. The flash comes out of gun_muzzle, like in the game.
The right hand does not move: it is the grip. If the weapon sits shifted or tilted in the hand, use Move and Rotate above the viewer, which move the whole weapon with its points.
Step 5: Look
- 1
Factory skins
For a game weapon, Factory skins shows the tints it has in the game. Click one to use it.
- 2
Paint each part
Under Paint, every material of the model is listed. Give each one a colour from the swatches, Any other colour, or Use an image. Back to the model's own texture undoes it. Attachment colour paints the attachments.
- 3
Video skin (optional)
Paste a link to a video file (it has to start with http:// or https://). In game it plays on the weapon while the resource runs; it is not inside the model and adds nothing to its size. A looping clip that fills the frame works best.
- 4
Particles (optional)
Pick a GTA particle effect to play on the weapon while it is in the hand, or Custom with any effect name or your own .ypt file. Set Colour, Size, Opacity, where it comes out of, and whether it loops.
- 5
Animated part (optional)
Add a GIF or a video (.gif, .mp4 or .webm), click on the weapon to place it, and set its size and rotation. It is baked into the weapon's texture and plays by itself in game. Building it needs Chrome or Edge.
Everything except the video skin goes into the model itself, so what you see in the viewer is what ships.
Step 6: Stats
- 1
Set the numbers
Damage, Magazine, Rate, Range, Reload speed and Recoil shake. Each starts at a sensible value for the kind. For melee, Damage multiplies the game's own hit (x1 is like the original).
- 2
Fire mode
Like <kind>, One per click or Full auto.
- 3
What it fires
Bullets by default. You can also choose grenades, rockets, homing rockets, flares, fireworks, EMP, incendiary or explosive rounds, a laser beam, a taser and more. Melee weapons pick a style instead: knife, machete, baton, axe, bat or knuckles.
- 4
Gunshot
Choose which weapon it sounds like. Shot settings has extra options for the chosen ammo.
Step 7: Aim
This step only affects first person: where the weapon sits in front of the camera when aiming down the sights. It does not change how the weapon is held.
- 1
Line up the sights
Move Up / down, Forward / back, Left / right and Turn until the sights line up with the dot in the centre. Zero is the game's own spot.
- 2
Check in game
Build once, go in game and aim with
/orbaim(it comes in the resource). Copy the four values it prints back into this step so the next build carries them.
Step 8: Build
- 1
Name it
Type a name. It becomes the weapon's game name,
WEAPON_<NAME>, which is what you give players and register in your inventory. - 2
Check the summary
Summary shows the kind, how many attachments have a model, how many parts are painted, and What's in the zip. If you never moved the bones, or some attachment is empty, or a bone is outside the weapon, a warning tells you; you can still build.
- 3
Pick the pack
Under Pack, choose which pack the build goes into, or New pack to start one. A pack is one resource with several weapons, and its name is the folder name.
- 4
Build
Click Build weapon. The paint is baked, the model is uploaded and our server writes the game files. When it is done, the weapon lands in the pack.
- 5
Download or send
Click Download the weapon, or Download all N for a pack. With a linked server, Send to server installs it there instead.
Your work saves to your account as you go. Projects, at the top, lists every named weapon so you can reopen it later. Share to the gallery publishes the whole weapon so others can remix a copy.
What you download
You get a .zip named after the pack. Inside:
<pack>/
  fxmanifest.lua
  config.lua                      test commands and permissions
  data/weapons.meta               damage, fire rate, clip, range, attach points
  data/weaponcomponents.meta      the attachments (when it has any)
  data/weaponanimations.meta      how it is held, fired and reloaded
  data/weaponarchetypes.meta      one entry per model
  data/pedpersonality.meta        how it is drawn from the holster
  client/names.lua                names in the weapon wheel
  client/commands.lua             test commands
  client/aim.lua                  /orbaim
  server/commands.lua             gives the weapon for the test commands
  server/aim.lua                  saves /orbaim results
  images/                         inventory icons (transparent PNG)
  stream/                         the models (.ydr) and textures (.ytd)
  README.md / LEEME.md / LEIAME.md
Depending on what you used, it also has client/laser.lua (laser sight), client/video.lua and html/video.html (video skin), client/particles.lua (particles) and html/*_anim.webm (animated part).
Just the meta files, next to the build counter, downloads only the meta files, for owners who want to edit them by hand.
Credits: game weapons, your own .glb and building use no AI credits. Generating a weapon with AI costs 40 credits, charged only if it comes out. On the Free plan each build counts as a conversion and uses credits; paid plans build without a daily limit. See pricing.
Install it on your server
- 1
Drop the folder
Put the pack folder in your server's
resources/. - 2
Ensure it
Add
ensure <pack>toserver.cfg. - 3
Restart and reconnect
Restart the server and reconnect. Weapon data is read when the game starts, so starting the resource on a running server is not enough.
- 4
Register the items
With an inventory (ox_inventory, QBCore, ESX), the weapon is an item and the inventory removes any weapon it does not know. The README has the item block ready to paste for each one. Copy the PNGs in
images/to your inventory's image folder. - 5
Test it
As an admin, open the F8 console and use the commands below.
| Command | What it does |
|---|---|
/orbweapons | Lists the weapons and attachments in the pack. |
/orbweapon <name> | Gives you the weapon, through your inventory if there is one. |
/orbattachall <name> | Puts every attachment on. |
/orbattach <name> <attachment> | Puts one on. /orbattachoff takes it off. |
/orbdiag <name> | If the weapon does not show up, tells you where it breaks. |
/orbaim | Tunes the first-person aim. Enter saves it to data/weapons.meta and restarts the resource. |
The test commands only work for players with the command ACE permission (your admins) and can be switched off in config.lua. With a server linked through ORB Core, Send to server installs the pack in resources/[orb]/[weapons]/ and starts it; if the weapon does not appear, restart the server and reconnect.
Common problems
The weapon does not appear in the hand.
Run /orbdiag <name>. Most often the server was not restarted, or another resource already uses the same WEAPON_ name (the game keeps the first).
The inventory takes the weapon away.
The item is not registered. Paste the item block from the README into your inventory's items file and restart.
The muzzle flash comes out of the stock.
The model came in facing backwards or gun_muzzle is in the wrong place. In Bones, drag gun_muzzle to the end of the barrel and use Fire to check.
The weapon sits crooked in the hand.
Use Move and Rotate above the viewer, in Kind & size or Bones. The right hand is fixed; the weapon moves around it.
It says the weapon is too heavy.
The limit to send a weapon is 48 MB. AI weapons come at full density; generate it again or start from a lighter model. The build brings the mesh and textures down to what the game accepts.
Weapons became unstable after adding many.
FiveM clients become unstable above roughly 115 add-on weapon models on a server. Each weapon and each attachment counts.
Questions
Does it replace a GTA V weapon?
No. It is an add-on: a new weapon with its own WEAPON_ name, next to the game's ones.
Does it work with my inventory?
Yes. The README has ready blocks for ox_inventory (Qbox, ox_core), QBCore and ESX, and the test commands give the weapon through your inventory.
Can I put several weapons in one resource?
Yes. Build each one into the same pack and download them together with Download all N.
Do I need Blender or CodeWalker?
No. The model and its skeleton are built on our server, and the meta files are written for you.
Can players use the test commands?
Only players with the command ACE permission, which normally means admins. You can turn them off in config.lua.
Checked against the tool on November 15, 2026.
Try Weapon Creator now
Drop your model, put its bones where they belong, and get a FiveM add-on weapon: the .ydr with its skeleton, the metas and the resource.
More guides in Props & models
- 3D Model → FiveMA 3D model in, a FiveM prop out: textures and collision included.
- Prop CreatorDescribe a prop, or drop a photo, and get one made.
- Prop LibraryReady 3D objects to turn into FiveM props.
- Vinewood Sign CreatorYour city's name on the Vinewood hill.
- Billboard CreatorYour ads on billboards, walls and shopfronts.
- VFX CreatorCustom particle effects for your server.
- Vehicle CreatorBuild a unique car, spawn it with /car.
- Asset OptimizerThe same resource, lighter: textures that load.
- Livery CreatorDesign a livery on the car, get a resource.


